Tuesday, July 15, 2014

Challenge thirteen; Under 10$

I was stuck on what to make for this challenge. None of my ideas had much of a spark for me, of course my biggest challenge recently has been finding the time to sew!

In the end I whipped up a re-made blouse to corset cover, plus I can wear it under my regency stays and finally get pictures taken of those as well! I was inspired by the many images available on the internet, so these don't come from a pattern. In fact this corset cover stated out as a thrift store purchased blouse. I used this May Manton pattern as my inspiration:


My blouse had a similar shape to begin with, but I altered it heavily to get the look I was going for. I shortened the straps by 5cm on each side, I also slashed the front and removed three repeats of the eyelet pattern. I then removed the lining and added it between the top and original hem of the blouse. I added five pintucks, spaced 3cm apart, to this piece and added a drawstring at the waist. The tie is made from the hem of the lining piece. I still have a bit of fabric left, the piece that I removed that has three repeats of the eyelet pattern. I may use this to make a bust cover as seen on the upper left in this pattern:


To make something like this French corset cover from the Met.


As is, here is my corset cover worn alone and under regency stays.


The sun came out just as I was taking this set, excuse the odd facial expressions.


I think it turned out pretty well, even if it does look rather awful under my stays!

The Challenge: Under $10

Fabric: Cotton eyelet lawn, in the form of a blouse

Pattern: None

Year: 1912

Notions: Thread

How historically accurate is it? Erm...not very, say 40%

Hours to complete: Two

First worn: Today, for pictures at least!

Total cost: $1.99 at 75% off so... .50!

Friday, July 11, 2014

Challenge twelve; Shape and support

I was going to make an 1880s corset for this challenge, but I could not find my boning anywhere! So instead I made a pair of 1810s regency stays. I started off with Jennie Chancey's Regency Underthings pattern, but I altered them quite a bit.


I used zip ties as boning along the front because cording these areas did not provide enough uplift. I also left out the cording under the bust gussets because again, they did not offer any additional support. I cut down the front and added a channel for a drawstring, these changes make the stays give the correct shape for the period and allow me to adjust the bust. I also altered the shaping of the bust gussets to give more lift and better shaping. The original gussets created a flatter more 1770s silhouette on me, which isn't the desired shape for regency stays.


I hand embroidered the bottoms of the gussets for strength and as decoration. I also hand worked the eyelets.


Currently I'm using satin ribbon as my laces and inside the drawstring channel, I plan to replace this with more accurate cording in the future.


My main fabric is a cotton duck which I lined with a striped quilting cotton that I had on hand and they are bound in bias tape.


I hope to get some modeled pictures up soon!


The Challenge: Shape and support

Fabric: Cotton duck and quilting cotton

Pattern: An altered version of Sense and Sensibilities Regency Underthings Pattern

Year: 1810s

Notions: Thread, embroidery floss, zip ties

How historically accurate is it? Hmmm...zip ties, quilting cotton and bias tape, let's say 50%

Hours to complete: Around five

First worn: Not yet

Total cost: Stash again, free!

Tuesday, July 8, 2014

Challenge ten; Art

I had so many inspirations for this challenge, but the biggest challenge of all was being historically inspired! I love Georgia O'Keeffe's cityscapes, I love the colors and impressionistic shapes of Marcel Duchamp's paintings. Sadly both of these leave me envisioning very modern garments, not historical ones.

I settled for a combination of pieces for my inspiration and made a blouse. I love the neckline shape and the floaty ties on the dress in this painting by Marie Laurencin titled Portrait de Madame Paul Guillaume. The shaded cool colors are also lovely!


My second inspiration piece, which I also love, is shown in two paintings of the same woman, but by two artists; Suzanne Valadon's and Robert Delaunay's identically titled Portrait de Maria Lani.


I like that both art blouses are similar in shade and shape (sleeveless, mauvy pink), for my blouse I used the leftover voile from the Pink challenge dyed to be more mauve, I did not however dye the ties. I cut it out as a wrap blouse from the bodice of a vintage 1940s pattern, but altered the neckline to be more of a curved boatneck and I cut it longer in the hips. I lengthened the wrap ties at the waist. I can wear it as in the first painting with a curved neckline in front or with the wrap in the front as in the Maria Lani portraits. I did not add the collar because I could not wear it like the first picture with a collar. I did try unsuccessfully to add the collar as a facing type piece which could be folded under, but it did not work.


Here it is worn over a blue blouse as in the Maria Lani portraits, it's a bit large, has sleeves and doesn't have the white collar, but it still gives the same impression.


Also a shot with it wrapped in the back. I like this blouse quite a lot because it can be worn in an historical context or in a modern one. I did have one dye related incident in which there was a spot of unmixed dye on the bodice. I used this defect to test a dyeing technique I've been working on. Now it has a darker watercolory area on the right bust (when worn with the wrap in the back) which I quite like.


The Challenge: Art

Fabric: Pink cotton voile

Pattern: A very altered 1940s dress bodice

Year: 1929ish

Notions: Plum and Warm Black procion dye, thread

How historically accurate is it? Fabric and style are spot on, but my pattern is 1940s, so maybe 75%

Hours to complete: Not including the drying time from the dye bath, around two hours

First worn: Not yet

Total cost: Free! All from stash again.

Wednesday, June 25, 2014

Timeline shift

I have to make up for lost time, my beloved computer died on me, along with all of the information held within it. Seven years worth of patterns, pictures, writing and countless other things gone, I have some on backup, but not most of it. This has been sad and yet also freeing in some ways though I do cling to the past at times.

Of course now that I am possessor of tech once more I must wrap up my projects as of late. This will be done in stages and in order, hence MMM wrap up then my HSF posts!

Me Made May 2014

Thank you to Zoe for hosting, Me Made May always such a fun and inspirational month! I loved it again this year, and while I did not meet my goal of not repeating items more than once a week I do know what I need to work on. I also received comments on some of my garments from people whose blogs I adore, and which made me squee like a child with a new toy! I appreciate everyone's comments and I really love seeing all the excellent seamstresses work being worn in real life. I often feel like my town doesn't have a very thriving sewing community, Me Made May is great because it connects all of the participants into one large community.

And now for my results; I wore my Burda jeans nine times and my Vogue 1247 skirts seven times, my other bottoms were store bought or bought then altered of which I wore my two pairs of altered gray jeans eight times total. More me made pants and skirts would be nice, clearly if these were to be gray they would be very much appreciated. I relied heavily on my Drape, Drape tees also, wearing them a total of eight times, and on my Vogue 1247 blouses which I wore five times, also my Vogue stripe tee which I wore thrice. My Burda blouses were worn four times total, but since I made them while pregnant during the last MMM the fit is a bit off now, but I still like them quite a lot and may craft a Regency-Modern chemisette to wear with them for more coverage. My circle wrap was worn twice and my shibori scarf also appeared five times because, well, I love a good scarf!

I was going to post a picture of all of my outfits in one image but I will have to buy the new version of Adobe Photoshop first, iPhoto just doesn't cut the mustard! So I trust it will suffice if I post my four favorite outfits in no particular order.


All of my outfits can still be seen on my Flickr page here. As can my outfits from MMM 2013 here.

Thursday, May 15, 2014

Challenge nine; Black & White

I love black, yet for some reason this challenge ended up being rather tricky for me. At first I made a dress from a pattern that I have used before, a vintage draped front dress pattern with two sleeve options. It didn't work! I had forgotten the issues this pattern has with my figure. As is it's 80% done, but I need to do some additional fitting and hemming before it will be finished.

And so I made a hat, or re-made a hat as it were. It was originally a bucket hat from the thrift shop from which I removed the decorative items, I then re-shaped it to be more of a period style. My inspiration was 1920s and 30s hats and hat illustrations like these:


I just love that first one!

Here is how my hat turned out:


Sally Stitch is wearing the black dress of fail in these pictures also. Here is the hat on me, sorry about the image quality, a grill makes a rather lousy tripod! Also my hair makes the brim stick out oddly on the back right side, it's fine when I use a hatpin but strange looking without one.


To make the hat I unsewed the original brim and all of the trimmings, I re-sewed it after I reduced the brim size and trimmed the wire. Then I bent and folded it into a shape that I liked and pinned it in place. I recommend buying a milliners block for this, I used my own head and kept poking myself in the forehead! After I removed it I sewed the folds in place matching the brim stitches. I am overall pleased with the way it turned out, but since it has already become hot here I will have to wait to wear it!

The Challenge: Black & White

Fabric: None, I used a wool felt hat

Pattern: None

Year: 1930ish

Notions: Needle and thread

How historically accurate is it? 75%, materials are accurate, but I'm not sure about the shape

Hours to complete: two

First worn: Not yet, I made a wool hat right before Summer so this will have to wait before I wear it!

Total cost: $2

Thursday, May 1, 2014

Challenge eight; UFOs and PHDs

I have so many PHDs to work on! I set out to: finish my sample Rosie jeans and bodice/Rosie blouse from the previous challenges, I also have a Ceylon dress circa 1942 I've been working on and my Sew for Victory ensemble. All of them just need a bit of work to be completed; in fact the Rosie jeans only need eyes sewn on for the side hooks.


I made them from some dark mid weight denim that I had on hand, I wear my Rosie cord pants often so I know these will be the same. I ended up narrowing the legs by 3/4" because the denim I used is very stiff and they looked rather like two denim smokestacks instead of trousers. I used no pockets on the jeans, though I did sew some up. I might add them later on, but at least this project is finished!

The Challenge: UFOS and PHDs

Fabric: 1.5 yards of dark heavyweight denim

Pattern: None/my own

Year: 1943

Notions: Hooks and eyes, six of them

How historically accurate is it? We'll say 50%, I'm not sure about the pants style in denim for a woman or the side hooks

Hours to complete: Who knows? five?

First worn: Today!

Total cost: All from stash so free!

The blouse needs its facing, buttons and a hem. I made it with my leftover sewing print cotton and some white cotton for the contrast portions. Yeah it still needs those previously mentioned things, it's still a PHD.

The Ceylon dress needs buttons and a hem. I just have to say, wow was this pattern wonky! Pieces did not line up correctly and the use of the same pattern markings at top and bottom on the waist piece exacerbated this. Luckily I have sewn for years now and noted this on the pattern so I altered the notches to be different before cutting it out. I added underarm gussets/patches to bring the armscye up two inches in order to avoid creating a weak spot and lots of strain on the sleeve. I wish I had noted this in the pattern itself but in my try-ons it seemed ok, oh well this is really just a wearable muslin so now I know. I also replaced the sleeves (which I didn't like) with a vintage sleeve pattern (the one from my Rosie blouse). I then found the original pattern that I assume this pattern is based on for sale on Etsy, it has the cutest sleeves and pockets and frankly wish I had bought it instead (sadly it is now sold)! With a lot of work (of which it still needs more) I think this will be wearable, but sadly it too is still a PHD.


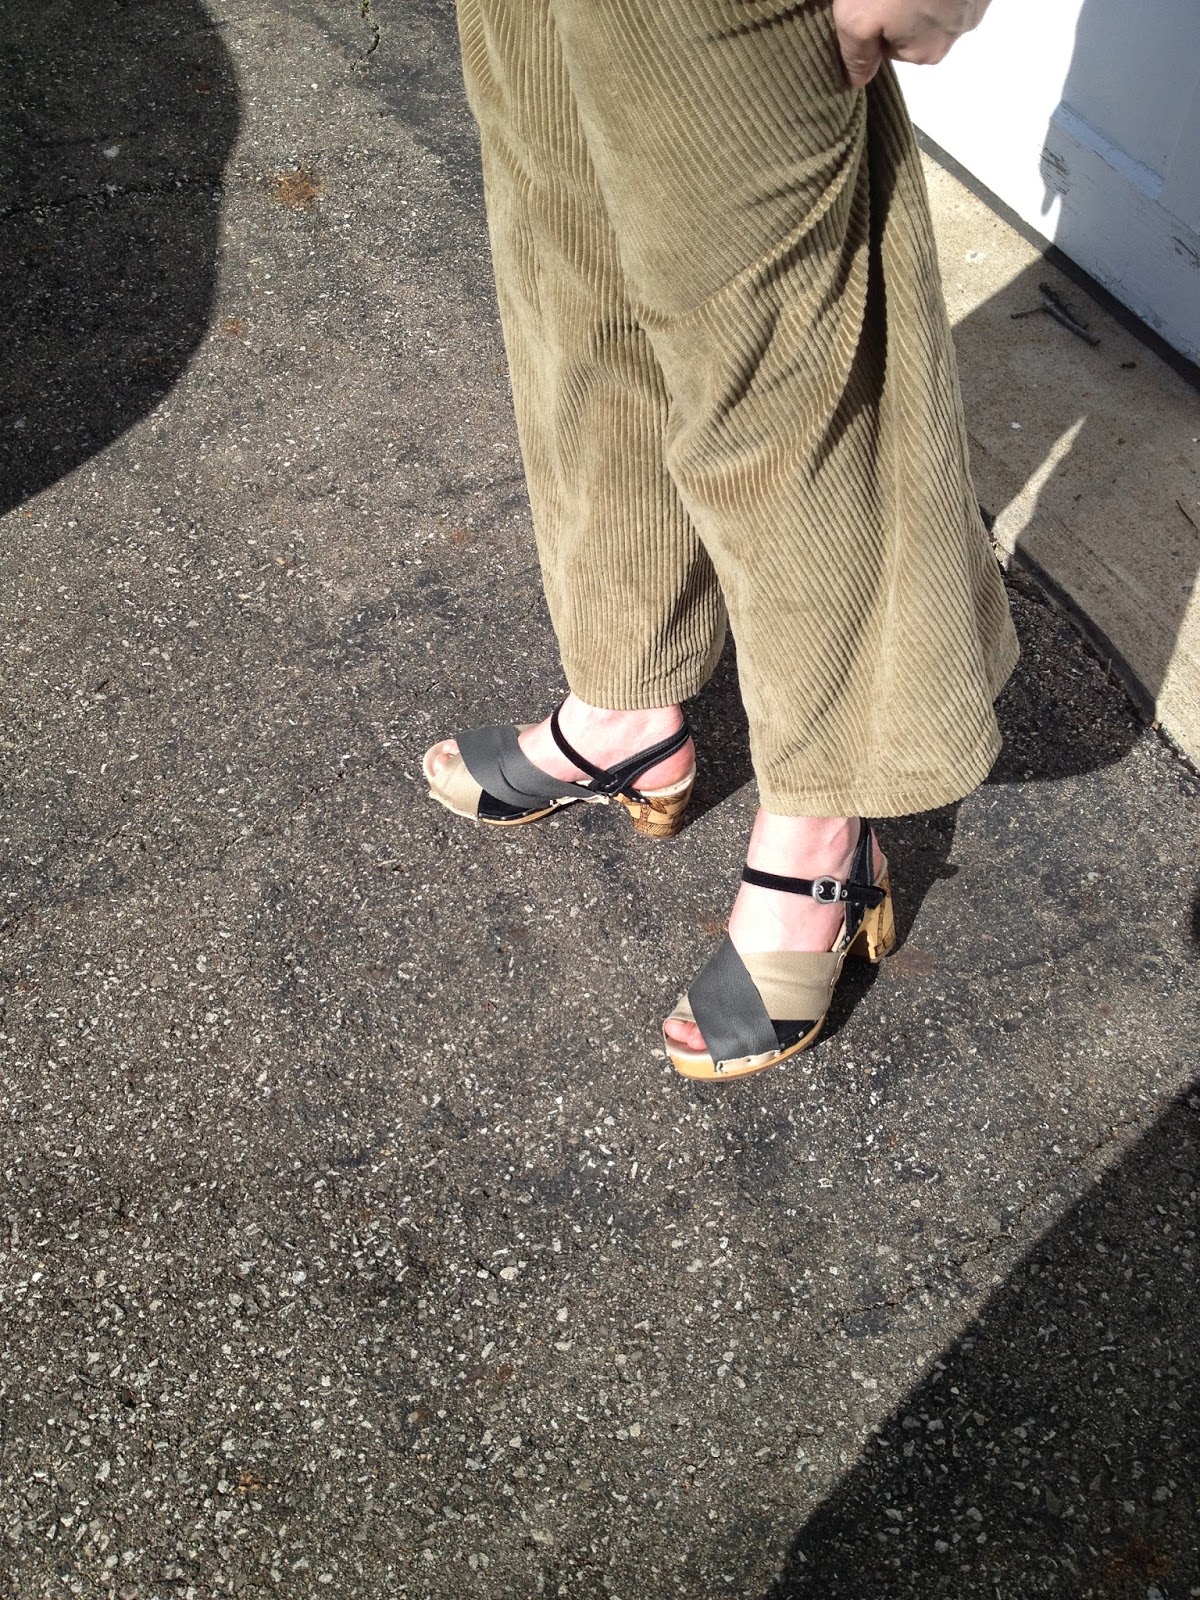
The Victory set needs the jacket finished and the pockets added to the dress. Not anymore, this set I finished and I think it turned out great! This set has its own post (the previous one) because it was for another sew along, but since it was hovering in UFO territory for so long I will still count it here, plus it's pre-war so it counts as historical. There are far too many picture of this outfit on my Flickr page.

The Challenge: UFOs and PHDs

Fabric: 2.5 yards of shot cotton in Mushroom, 1 yard in coal

Pattern: Clotilde 2889

Year: 1945ish, the pattern was undated

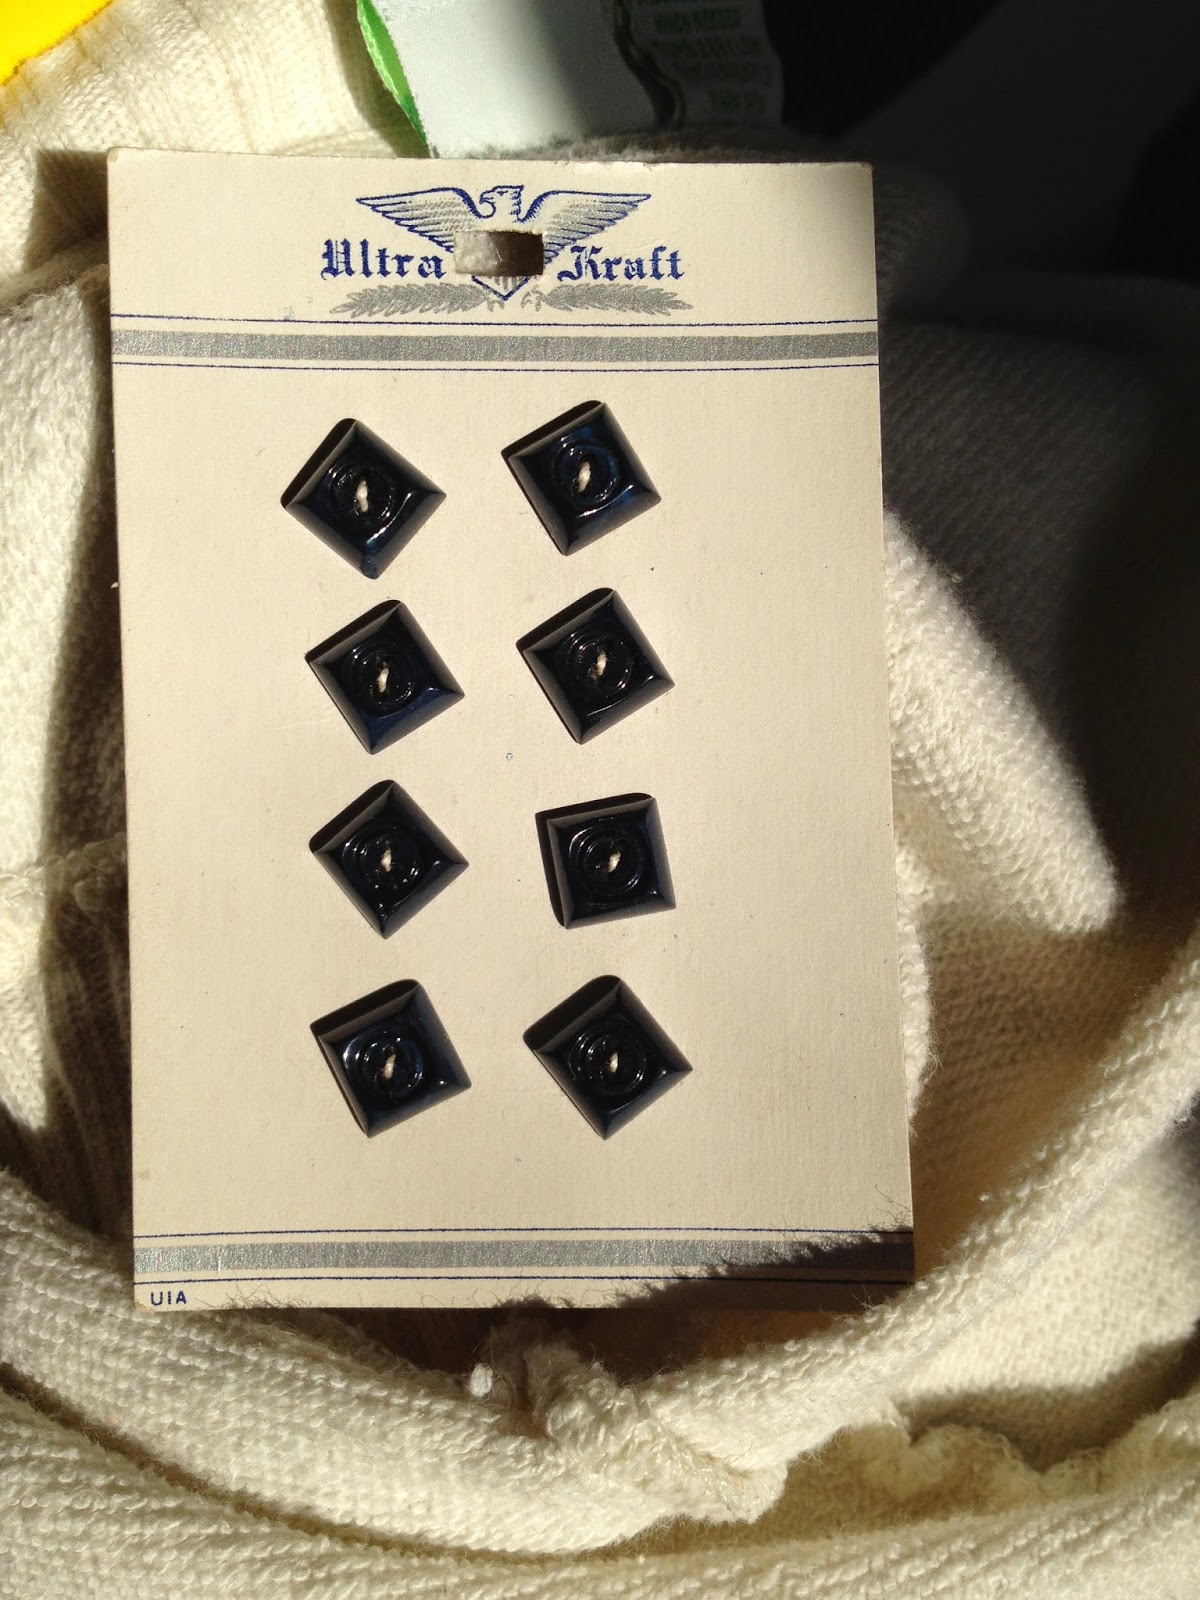
Notions: Two hooks and eyes, three snaps, fifteen vintage buttons in navy, six vintage buttons in pink, one vintage belt buckle in pink.

How historically accurate is it? Totally! Vintage pattern and notions, accurate fabrics and sewing techniques.

Hours to complete: Around a million.

First worn: Yesterday, to dinner and then shopping.

Total cost: Around 35$, lots of online purchases required for this set!

So that's two out of four or three out of five, not bad I guess.

Wednesday, April 30, 2014

Sew for Victory

I decided to participate in the Sew for Victory sew along hosted by Rochelle New of Lucky Lucille. This is the first time I have participated in this sew along, which is now in it's second year. I made an ensemble from a 1940's Clotilde pattern sold by the Chicago Tribune. While I don't have an exact year for it, I know that it was sent for on July 10th (the original owner made a note of this), the style, language and sewing directions say early to mid 40's to me. I purchased the pattern on Etsy and it included the original newspaper advertisement, very cool!


I made my dress to replicate what was specified in the newspaper ad: For spectator sports, business hours, and informal social wear this cool frock is ace high. There's no collar to clutter the neckline and the sleeves are kimono style, cool, and easy to sew. If you like pockets, the pattern provides for four of them, two on the bodice, the other two on the skirt. The original is fashioned of pink cotton with the pocket flaps and diamond shaped buttons in navy blue. There's an unusual jacket to keep this frock company. It may be of flowered cotton to contrast if you select a plain shade for the dress itself. Lumber jacket lines are employed for the lines of this jacket, which has a shirtwaist collar and snug waistband.


Let me tell you that finding diamond shaped navy buttons was virtually impossible! I finally found some vintage 1940's navy blue square shaped buttons (far away in England!) which I sewed on at an angle. My fabrics are Mushroom and Coal shot cottons by Kaffe Fasset, I really love shot cotton! I did not use a flowered cotton for my jacket, instead I used Coal shot cotton. I might make a floral version if I can find a floral print that coordinates and that I would wear, a difficult task.


I made a few alterations; lengthening the back bodice pieces of both dress and jacket and adding a waistband to the dress. They blouse a bit more than in the illustration, but I don't mind (and the amount varies based on the undergarments that I wear with the dress). I hand worked my buttonholes and hand sewed the facings and side closures (four snaps and two hooks and eyes), for the hem I used some hand dyed lace as a facing. I used vintage buttons on the jacket in a mauvy color, I liked the flower pattern on them as it recalls the printed cotton they recommended for the jacket. I also used a vintage buckle, pink with a floral motif, for my belt. It wasn't specified in the pattern, but it does clearly show a belt with a lighter buckle on the pattern so I whipped one up from my extra Coal fabric. Oh yes, I also left off the bodice pockets, because I do not need to call more attention to that area! I do now have two extra pockets which I may add to the jacket, reversible pockets are nice after all!


Sorry for the poor picture quality! It is very rainy today and the artificial lights in my sewing room really skew the colors of these fabrics! There will be better/more photos posted later, once I pick up my daughter from school. She is my official photographer after all! Larger versions of these pictures can be found on my Flickr page here. I would also like to thank Rochelle for hosting the sew along, I love 1940's fashion and am always looking for an excuse to sew more of it! Thank you Rochelle!

Tuesday, April 15, 2014

Challenge seven; Tops & Toes

For this challenge I made a hat that I have wanted to recreate for quite some time and a pair of clog/sandals. Both are based on images of extant items from the early 1940s. My hat is a semi reproduction of an American Surrealist hat circa 1940 or '41. It's a knitting hat! I've only seen one image of it, in a book titled Forties Fashion From siren suits to the New Look I wish I could find out more about it, or at least see some additional images of it! Does anyone know where this hat currently resides?


I just love the wide textural mesh used in the original. Sadly I couldn't find such a mesh available now. I did luck out and find a great nylon substitute on Etsy at a very reasonable rate! I used wool felt for the base which I hand sewed into a pillbox shape. It turned out very soft so I made my own hat stiffener from potato starch and water, it worked very well! I hand painted my knitting needles pink using paint which I had leftover from repainting my daughter's bed. Here it is front and back, but not on a head yet!


My shoes are a conglomerate of WWII era sandals and also souvenir sandals from the Philippines which were often brought home by servicemen as gifts for their wives and girlfriends. Most of the original souvenir sandals that I have seen have been carved and painted, or just painted.


Carving them was going to be too much work for me to do (especially while holding a baby) and painting them was just too colorful for my tastes. I used a wood burning kit to create the images on the heels of the shoes instead, which is reminiscent of the right images above. It was my first time using a wood burner and it was fun! Evenly burning the curved heels was difficult though! I also bought the cheap wood burner and it's tips unscrew as you use it meaning you have to turn it off and let it cool before you can adjust it and get back to work, rather a bummer in the time wasting department! I also covered the tops in cotton strapping held by leather and nails to give them a more period look. Unfortunately it turns out that modern clogs tend to be glued onto cut out areas on the soles before being nailed down, due to this I ended up laying the strapping over the original straps, leaving them partly visible. It's not the best look, but I would need to find soles without this modern shortcut in order to make them more authentic. I'm not entirely happy with these yet, but I do really like my burned images. I am thinkng about buying a pair of wooden soles and doing these again.


The Challenge: Tops

Fabric: Wool felt and nylon mesh.

Pattern: None

Year: 1941

Notions: Knitting needles, paint, thread.

How historically accurate is it? Very, though my bamboo wood needles are not quite accurate.

Hours to complete: Not including drying time for my stiffener and paint, one and a half , including drying time, around ten.

First worn: Not yet!

Total cost: $1.50 for the felt, $1.00 for the net, $4.50 for the needles, so $7.


The Challenge: Toes

Fabric: Cotton strapping, leather scraps

Pattern: None

Year: Mid 1940's

Notions: Wooden soled clogs, nails

How historically accurate is it? Hmm, aside from the non removable under layer they are pretty accurate, we'll say 75%.

Hours to complete: Around two

First worn: Not yet, it snowed again!

Total cost: $15 for the shoes, $2 for the strapping, nails from stash, so $17.