
In order to use my melty cotton I interfaced it and then I flat lined it with a stiff pink cotton poplin that I already had on hand. I then flat felled all the seams for strength and to prevent adding the extra bulk of a separate lining. I used some of my French red and white striped ribbon to make my boning channels which I placed along the seams. In this image you can see the poplin, boning channels, fabric and sewn seams just before I inserted my busk.

And after I had inserted and pinned my busk in preparation for sewing. I got my busk and garters from Armory Auctions. Everything I ordered from them is of exceptional quality and it was all very well packaged so as not to be bent or broken during shipping. I can not recommend them enough.
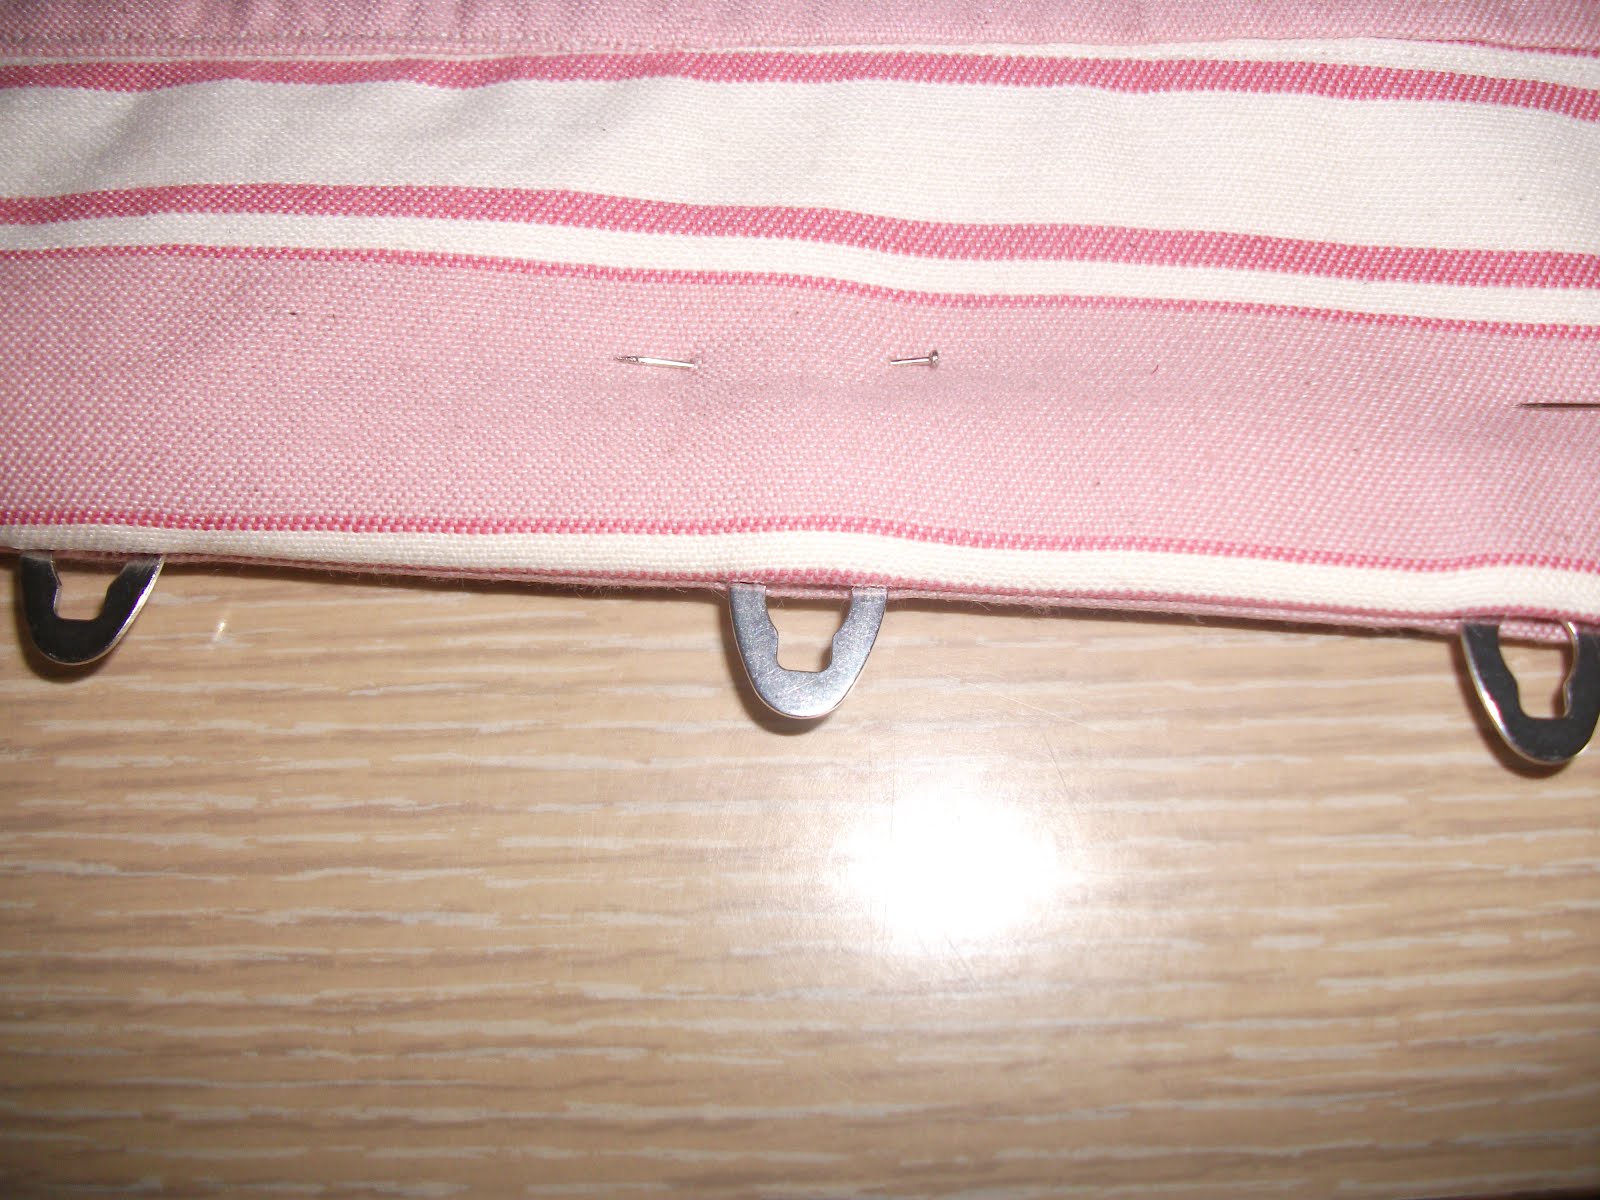
The busk studs after insertion, with blue chalk dots denoting placement still visible. I do not own an awl so I used a combination of a large needle, and several knitting needles to poke my holes. I find this makes the fabric less likely to rend around the studs, I do the same for my eyelets.

I hand bound my eyelets for a combination of reasons, one: I did not want to buy additional parts such as eyelets and a setter which I would then have had to wait on to arrive. Two: I prefer the look of hand stitched eyelets, especially how it ties in with the flossing, and three: I already had my floss on hand. I actually stitched around ten eyelets too many as I wanted to hem the corset on my body and thus made it with a very long hem.

I used the same floss I used for the eyelets to do the flossing for my boning. I decided on a pattern following a tutorial from Sidney Eileen which I like because it holds in the boning well and is also a very nice style visually. Unfortunately it does make a more visible mark inside the corset, but I accept that as the cost of having sturdier bones.

I used the stripes on my fabric to cut out my garters as they were the exact width I needed. Since the corset has a straight front the addition of the garters visually elongate the corset by continuing the stripes downward. Here is a picture of the finished corset on Sally Stitch as it was on the evening of February 24th.

You can not really tell from the picture, but after I photographed the corset on Sally I decided to add some of my vintage lace to the top after all, I had decided not to because I only had 26 inches of lace and my corset sits high. Luckily I had just enough to fit around the top edge and to turn under at the sides.

Unfortunately I did not manage to get decent pictures of it taken while on my body. In fact I still don't have any good ones of myself wearing it. I have worn it though, and I must say that it is quite comfortable, much more so than ones I have purchased. Here is the only picture that I will post of it being worn for now, it is a quite unfortunate picture; taken via my reflection in the bathroom mirror. But it allows one to see how the corset looks on a body.

In this picture I have around a four inch gap at the back. I can lace it fully closed and still be quite comfortable though. It also provides good bust support, though not quite as good as a modern brassiere. I plan to make a proper bust bodice to go with it soon, hopefully I will be able to get some pictures taken soon as well!
Au revoir