Friday, March 28, 2014

Challenge six; Fairytale

For this challenge I was quite stumped at first. Fairytales are generally not my cup of tea, also a frou-frou princess dress does not fit my lifestyle at all. Since my goal, unstated until now, was to make an historical and wearable vintage wardrobe this challenge was doubly confounding. Eventualy I decided to do a Cinderella/Rosie the Riveter/land girl ensemble. These are some of my inspiration images:


I chose the color scheme of Disney's Cinderella's work clothes- a tealy blue, a light brown and darker brown. I used a vintage pattern, Simplicity 4161 from 1942, for the blouse.


My fabric is a very cool quilting cotton printed with sewing implements. I had just enough left over to make another of the 'bodice' challenge blouses too! My trousers are a pattern I made myself based on historical photographs, for these I used a light brown wide wale corduroy. Both fabrics are from the excellent Sew to Speak shop in Columbus. I had never been there before but they are a wonderful resource for fabric and independent patterns. In short a big yay for them! Here you can see the color scheme, I wore my dark brown sweater with it to get in that additional Cinderella color.


I had to change the story a bit of course, in my version of the fairytale Cinderella is not a servant but perhaps a housewife, (I think we can all agree that 1940's housewives lives were rather servile at times). She would dress her up mice in overalls, then make them have a victory garden, and at the dance she would meet Uncle Sam and become a WOW. Her prince charming was finding herself. A much more satisfying happily ever after!


I wanted to print a WOW bandana but never got around to it, though my blouse and pants took less than a week to make. In fact they were both very easy to sew! My main difficulty arose in fitting the pants, the butt is still a little unflattering, but frankly looks pretty period to me. I think my issues arose because I shortened the crotch length as many people say needs to be done to vintage trouser patterns. I ended up adding it back in plus some to get the waist to fall at my waist! I also had to do significant sway back alterations. My side pockets were going to be back pockets but I cut them too small, so instead I stacked them on my right hip. I like the aesthetics of the stacked v's and the utility of two pockets.


As you can see I get really odd wrinkles after a few hours of walking around. Standing still it looks normal, not like a wrinkled mess!


And here is a shot on Sally Stitch, the buttons are just pinned on here, I was auditioning my button options, also a lovely shot taken in the bathroom mirror at the end of the day. See no wrinkles when I'm still! My photographer had a hard time getting good pictures in the wild, that is, at the Ohio Historical Society's Lustron exhibit (which is awesome and everyone should go and visit!). Please note, I also made the awesome children in these images!

The Challenge: Fairytale

Fabric: Printed quilting cotton and cotton wide wale corduroy

Pattern: Simplicity 4161 from 1942 and my own

Year: 1942

Notions: Five vintage black buttons, one bronze reproduction vintage button, two skirt hooks and bars

How historically accurate is it? 75% because of the quilting cotton blouse and modern hooks

Hours to complete: Not sure, I worked on them for four days total, but two days were just for finishing

First worn: Thursday to the Lustron exhibit

Total cost: $25 to $35, I still have extra fabric left

Friday, March 14, 2014

Challenge five; Bodice

For this challenge I made blouses. Not technically bodices per se, but for me they are the bodices of my daily apparel, so it sorta works. I actually made both early last week and intended to make more, but instead I loafed around (read: got stomach flu, not fun!). I also neglected to press these before photographing.


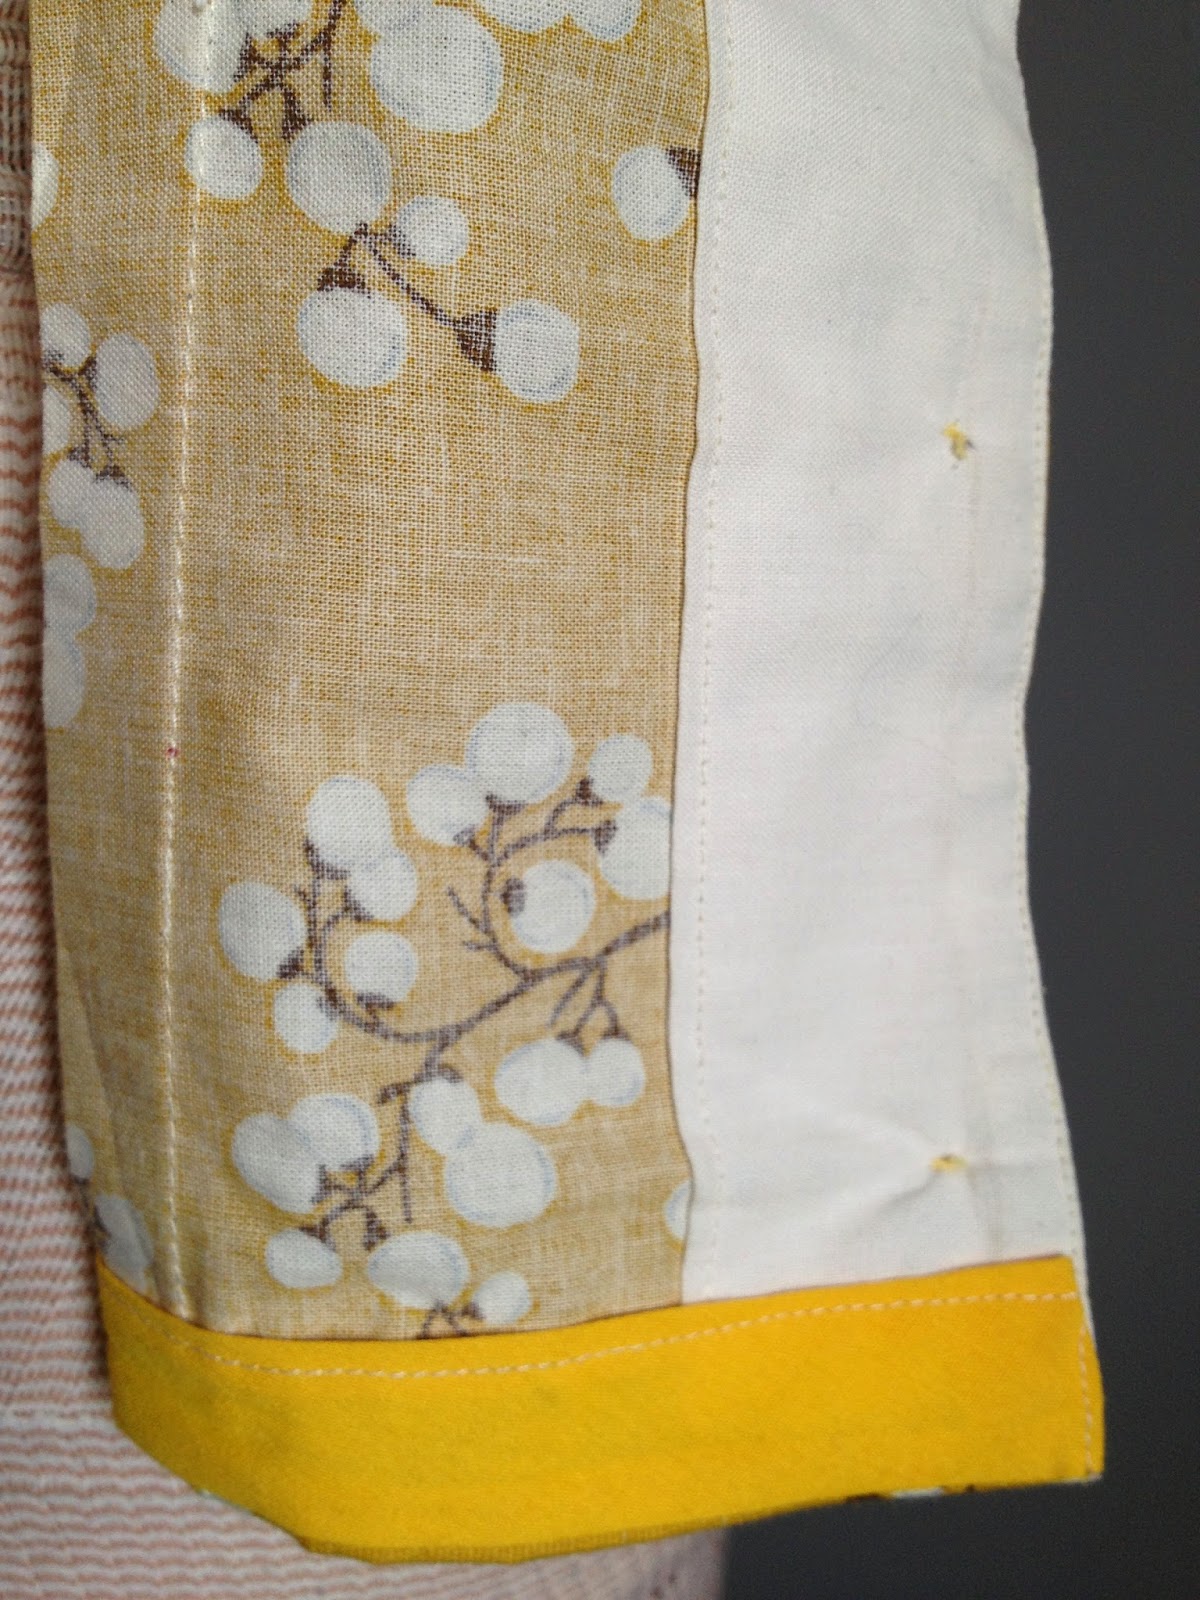
I used this mail order pattern from the 1950s I have which is outside of our dates for the HSF, but I once had an older version of it that was unprinted and dated to the 1940s. It might not have been exactly the same pattern but it was almost the same, but sadly we shall never know as my original was the victim of a cruel mauling and munching by a one year old (luckily she's nine now and no longer eats my vintage patterns!). I also used some fantastic vintage buttons! And please not the very cool button band detail on the gold blouse! (Please don't notice that my steam away marking pen did not steam away!)


I used my ivory linen stash for the contrast tops, which also helps me be able to wear these colors! The pink is the stained seersucker from Etsy that I wanted to use for the pink challenge, and no the stains did not come out. The golden is a bit of quilting cotton I picked up as a remnant at JoAnns. I faced the hems with bias tape for weight, used no interfacing and cut down the crazy big revers to a more moderate size (I took off 2.5" on each collar). My earlier pattern definitely had smaller revers! I modified the back pattern to mimic the shaping on the front, I'm not sure if the original had this detail built in or not, it might have been a straight back panel with a shaped front.


As you can tell the contrast seaming is different on the two blouses, that is because I cut the pink blouse from view A, intending to modify the collar to be ivory with a scalloped edge in the pink. It was ugly, very ugly. So I chopped it up and did some reshaping and made another version of view B with some differences. There is no cb seam, The shaping is different, the cool button placket detail is gone and the bust darts are lower. I still like it though, in fact I love these blouses! I will post some modeled pictures soon!

The Challenge: Bodice

Fabric: Light weight linen, quilting cotton, vintage cotton seersucker

Pattern: Mail Order 9379, altered to look like a lost 1940s pattern

Year: 1940s or 1950s, depending on which pattern you use

Notions: Vintage buttons, thread, bias tape in peach and gold

How historically accurate is it? Pattern, fabric, notions are yes, polyester bias tape is no, so 95%

Hours to complete: 2, one hour per blouse

First worn: Antiquing last weekend for the gold, pink not yet worn

Total cost: $9 for buttons, but they are perfect and vintage and I have extras! Actually let's say $5.

Thursday, February 27, 2014

Challenge four; Underneath it all

I had big plans for this challenge, and was making good progress, until life got in the way. I was going to make some bras and tap pants and a girdle/garter belt, but it didn't happen. Due to sad family circumstances I only finished one bra. this one:


It fits me better than it fits Sally Stitch.

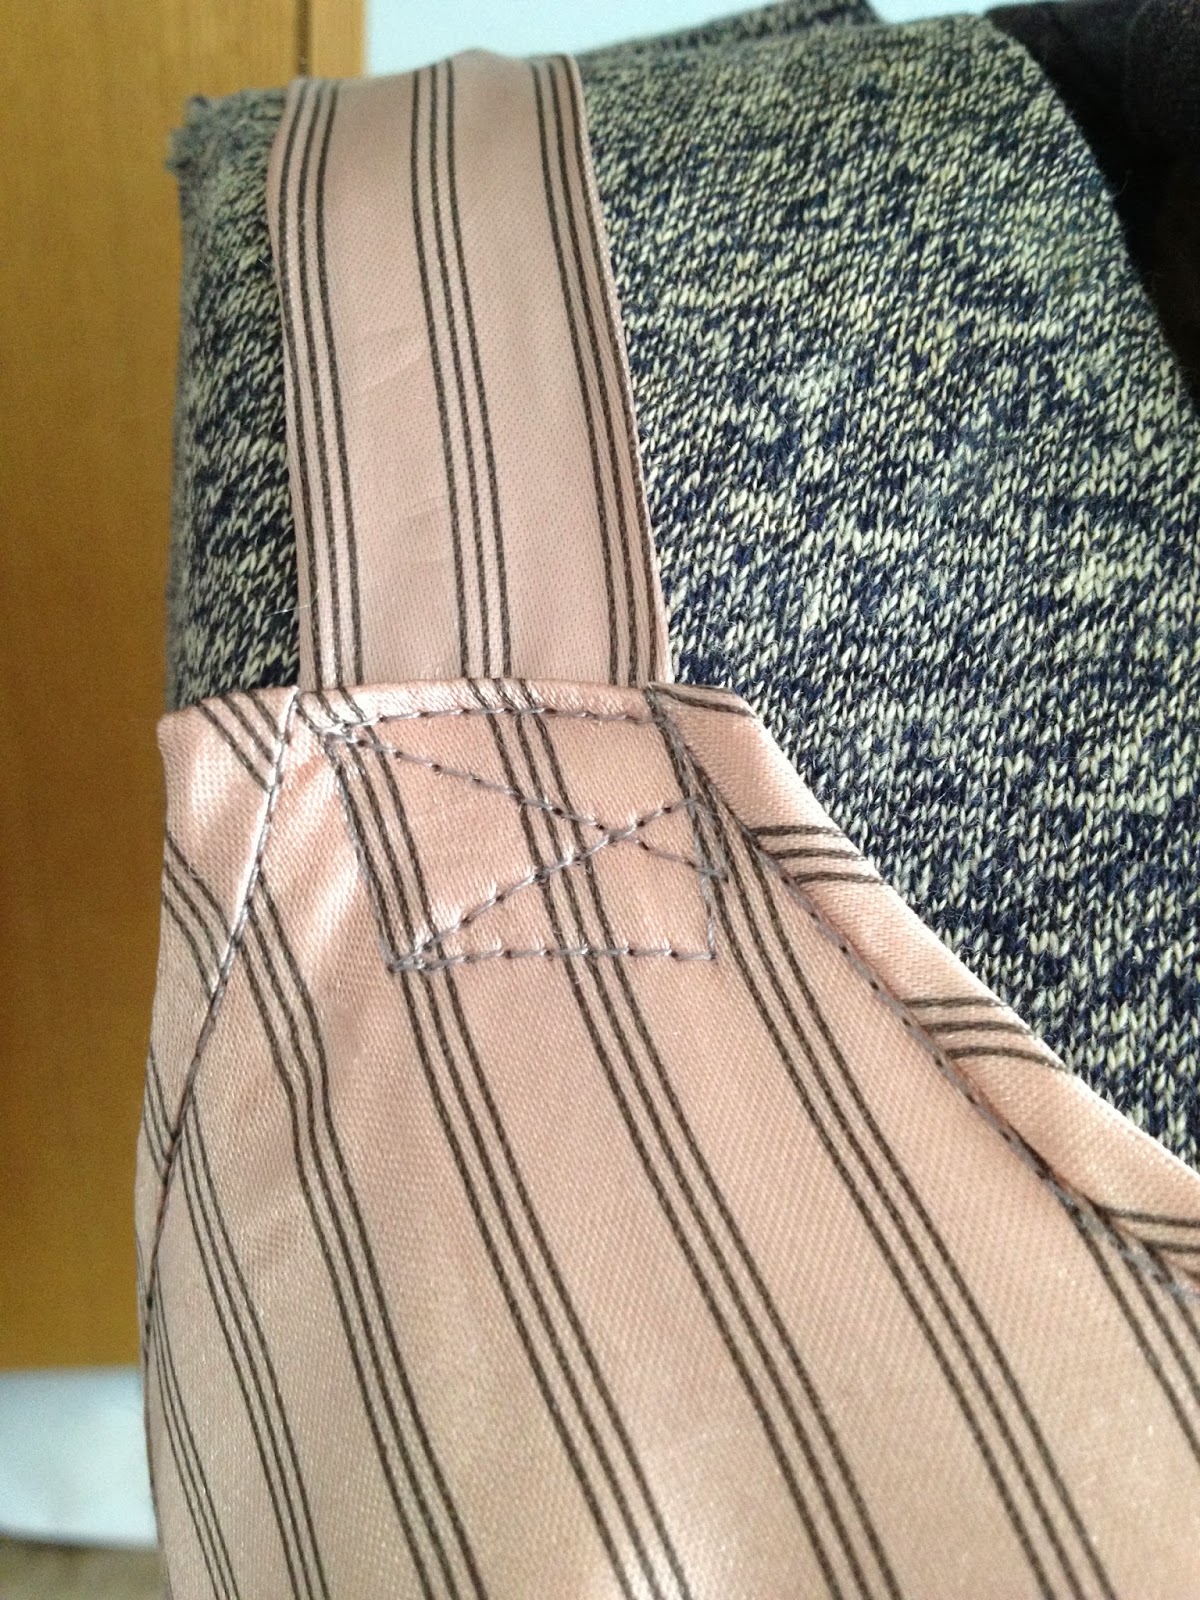
I had cut the lining out of an old leather coat I repurposed a while ago, it was peachy pink with black stripes, draped nicely and was silky. It was 100% acetate. I washed it in the sink and the dry cleaning chemical smell was just awful, it took several sinks of water and long soaks to remove all of the smell. When it was dry it was a terrible mass of wrinkles and a blue pink color, I think the peachyness was residue from all the dry cleaning chemicals. I ironed it on a mid setting and it's silky smoothness was restored yay!


I had intended it to be a test bra, since it was just lining fabric, a wearable toile, but it turned out better than expected. There are a few wrinkles around the seams on the cups, but these are invisible under clothes. I think the shape of the cup seams are to round and that is causing the problem. I might bullet seam the cups to see if that helps, I have read that doing so can help shape the cups into a more pointy form.


The Challenge: Underneath it all

Fabric: Pink and black striped acetate lining from an old leather coat, pink shirting as lining

Pattern: Cobbled together from several vintage bra patterns

Year: 1940ish

Notions: One hook and eye, 6" of green elastic dyed pink (too pink!)

How historically accurate is it? Hmm... 50%, the pattern is accurate as is the shape it gives, but acetate? no.

Hours to complete: Around one

First worn: Not yet, as it doesn't allow for breastfeeding.

Total cost: All from stash so free!

Saturday, February 15, 2014

Challenge three; Pink

I had some problems with this challenge, for starters I love pink but never wear it. I also have lots of pink fabrics, that are all too small to make a garment from. First I wanted to use this lovely vintage seersucker:


I bought it on Etsy and sadly it was quite stained, I couldn't get all of the stains out either. I won't be naming the seller here for obvious reasons. But it was just too small to make something from, I only had 32"x64". I tried many other fabrics and patterns but nothing spoke to me!

In spite of this though, I actually sewed three pink things this fortnight! Sadly the best was not an historical garment; I made my daughter a coat! She selected the fabrics (lovely pink coating and pink, black and white lining from Fashion Fabrics Club) and pattern (Marmalade from Tamanegi-Kobo). It came out quite nicely, though the pattern matching and hand stitching made it a rather intense project! In fact it took up over half of the fortnight to complete. If anyone is interested let me know and I will post some pictures of it!

For this challenge I originally intended to make something like this blouse:


which is currently for sale at Ode to June on Etsy. I don't own the pattern (but someone should buy it because it's beautiful! And um, make me a copy, please?) so I used one of my basic bodice blocks to cut it out and then I sewed it up without trying it on (because I am foolish). Unfortunatly I used my unaltered block (foolish) which does not account for my square shoulders at all! Big mistake, there were large puffs on the tops of my shoulders which took a lot of work to fix. But fix it I did.

I hand sewed the sleeve hems and the tie belt at the hip with a blanket stitch but sewed the rest by machine. In all I really like how the blouse turned out, though it is a bit large in the hips. I may take some small tucks in the hem to snug it up a bit.


The Challenge: Pink

Fabric: 1 yard apricot cotton voile

Pattern: My own

Year: 1928

Notions: Pink thread, embroidery floss in colors 842 and 3779

How historically accurate is it? 95%, I did some decorative machine zig-zaging on the ties.

Hours to complete: Three-ish

First worn: Today! Photos forthcoming!

Total cost: All from stash so, free!

After that I hand sewed a pair of pink garters with some lovely pink striped ribbon I had on hand, I used lace as a backing and added three mother of pearl buttons to each. I had made some vintage style ribbon rosettes but I found them unsatisfactory, probably due to the cheap polyesteryness of the ribbon. The beads look much better! To make them I simply measured my thigh and added half of that measure to get my length then sewed ribbon to lace with a running back stitch and threaded through the elastic. Sewing on the beads was the most time consuming part (and bent my needle into a nice curve!).


The Challenge: Pink

Fabric: 2 yards pink ribbon, 2 yards white lace, 28" elastic

Pattern: none

Year: 1923

Notions: 6 Mother of pearl beads, thread

How historically accurate is it? Let's say 95%, my fabric is definitely synthetic, regardless of what JoAnns says.

Hours to complete: Under an hour

First worn: Today, for photographs!

Total cost: Beads-$2.00, the rest was from stash.


Friday, January 31, 2014

Challenge two; Innovation

For challenge one I made a dress inspired by Madeleine Vionnet, I chose it as a bit of practice for challege #2. So, without further ado, here is my Innovation dress, made from the pattern of an actual Vionnet in the Met. Images of the original are side by side with my dress, for comparison.


I chose this dress as it joins bias and straight seams along several edges, an innovation often credited to Ms.Vionnet. All the pieces are cut on grain, but in sewing it up several of them meet on the bias.


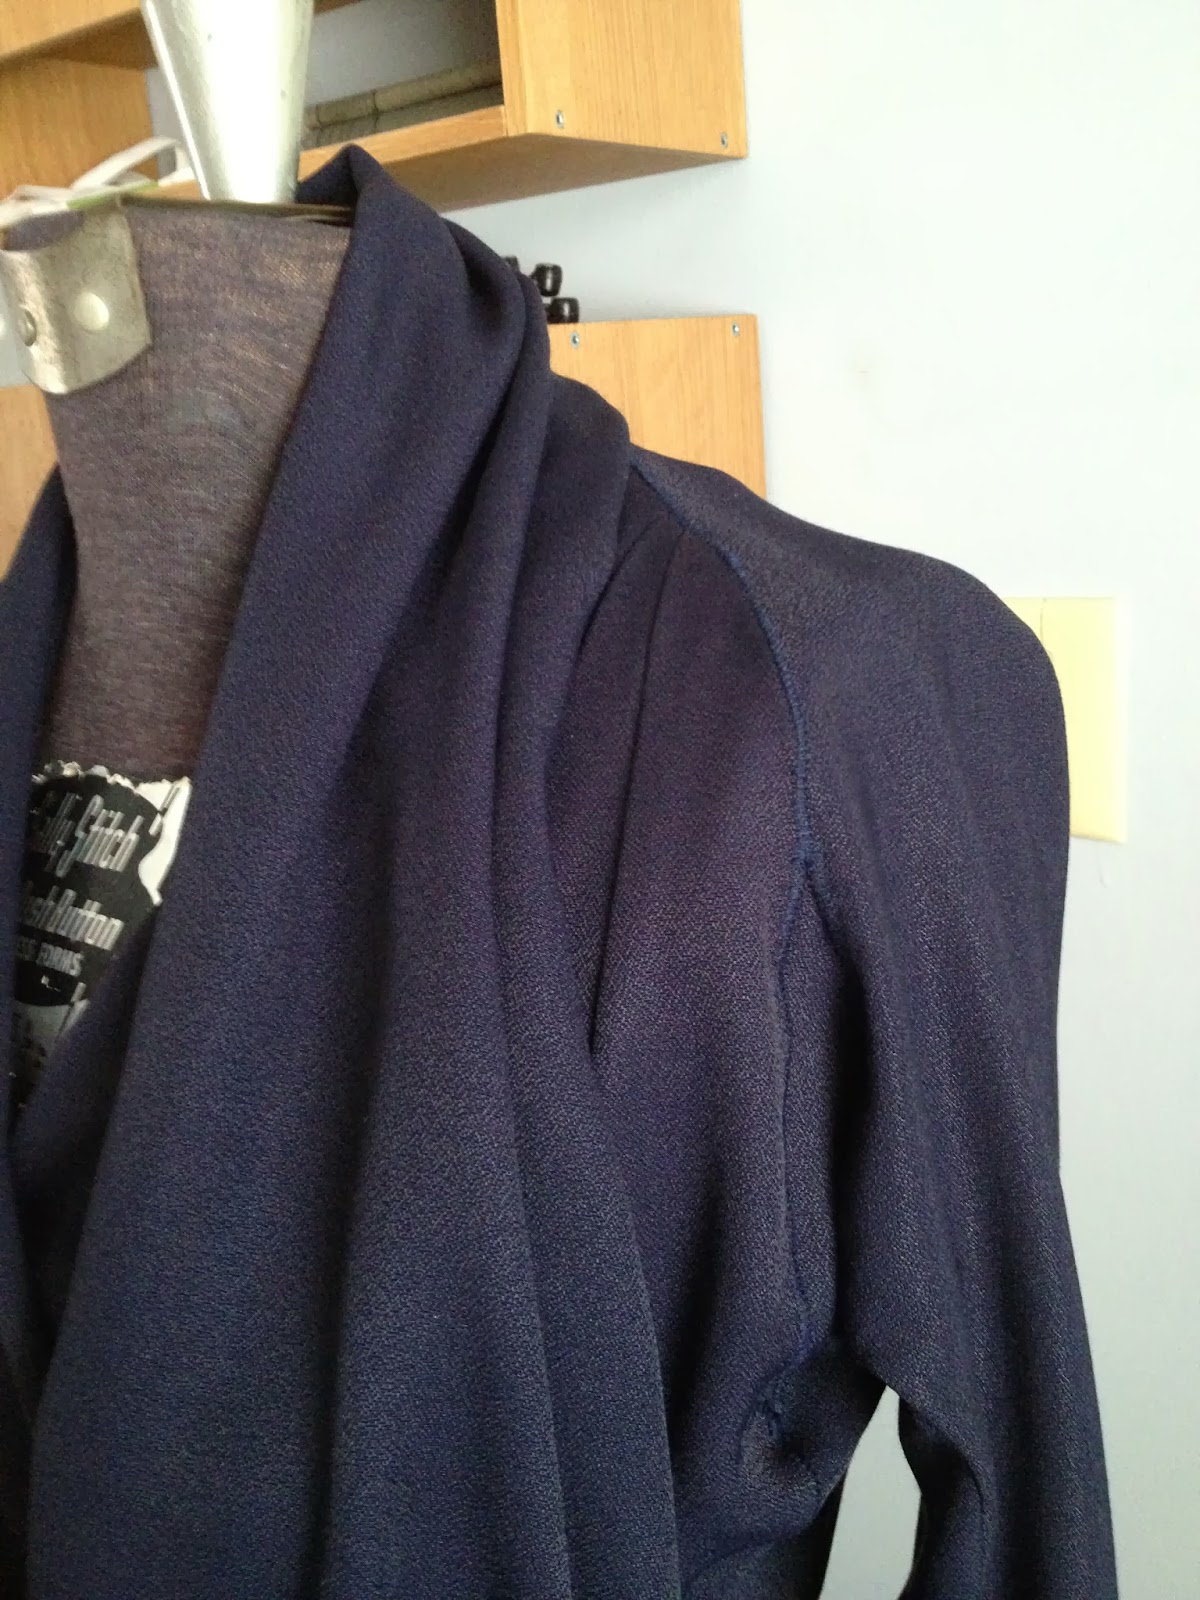
I used the pattern in Betty Kirke's book Madeleine Vionnet which I enlarged and taped together as one does with electronic patterns. What can I say, I'm glad I practiced first! The fabric I used was a rayon crepe which was rather difficult to work with, it was also weightier than the fabric used in the original. The beefiness of it made things go together differently and thus required a fair bit of basting. This, combined with the fitting issues required by bias fitted garments means that it took a while to sew.


I buttonhole stitched the seams, instead of satin stitching them, after I basted the edges together.


I also tacked the wrist ties to the outside of the sleeves, the practice buttonholes I made looked vaguely vulgar to me (also this crepe is incredibly frayey!).


I hand stitched the sleeve bands on with a faggoting stitch as was done on the original. I used a gray-blue DMC embroidery floss which I had on hand and looked nice with the color of the crepe. Also, my navy thread blends in much better than it seems to in this picture!


The Challenge: Innovation

Fabric: Three yards of navy blue rayon crepe

Pattern: Number 27 from Betty Kirke's book

Year: 1920

Notions: Vintage thread in navy, DMC embroidery floss #317

How historically accurate is it? Fairly, the pattern is from an extant garment but it is mostly machine sewn, I did baste everything by hand though. Silk crepe was used in the original but I used rayon crepe.

Hours to complete: No idea! I worked on it whenever I got the chance and with all the pinning, basting and fitting, I'm guessing quite a few!

First worn: To my daughter's school's International Festival (Well, my father's side of the family is from France...).

Total cost: $9.40, my fabric was on sale and my thread was vintage.

Sadly this dress has confirmed that my bust is just too large for this style of dress, and that surplice bodices are simply not my friends. Oh well, I will still wear this dress and perhaps once my baby is weaned it will look better!

Tuesday, January 14, 2014

HSF 2014, Challenge one, Make do and Mend


After I stopped participating rather early in the HSF last year I am determined to complete all of the challenges this year. I will be doing rather short blog posts but there will be plenty of pictures on my Flikr page.

Make do and mend

For challenge one I had intended to made a 1940's suit from a suit, but after painstakingly ripping and pressing the suit in question I found that my pattern pieces did not fit well enough to use it. Ah well, now it shall become children's clothes and perhaps a few new potholders. Instead I have made a 1920's Madeline Vionnet inspired dress, I used these images from McCall's patterns circa 1928 and 1929 (found here) as well as Betty Kirke's book. After three children the waistless look of the 1920's works for me, but I hope to add more shapely garments as I get back into my normal shape (and I will!).

But how does it count as a 'make do' you might ask. I will tell you; I only had one yard of my fabric and one hank of embroidery floss to make it from and I re-used hooks end eyes from an older project.

The Challenge: Make do and mend

Fabric: One yard of sea green rayon crepe

Pattern: None, the dress is all rectangley-square shapes. I used directions from the 'Easy Ways to Pretty Frocks' book originally published in 1929 as my starting point, then I modified it to suit my needs. The bodice is simply a rectangle with the neck hole cut from the center. I cut the remainder of my fabric into squareish shapes then pinned them to the bodice handkerchief style. I hand sewed all the seams with my floss but I made a narrow hem along the bodice sides and hemline on my machine.

Year: 1928 or 1929

Notions: One hank of DMC embroidery floss in color 169 Light Pewter, three hooks and eyes, gray thread

How historically accurate is it? fairly, it's mostly hand sewn, rayon crepe was available and used for dresses like this in 1928-9 and the style is period.

Hours to complete: Maybe three hours all told, I snatched time when my children would let me and re-worked a hat at the same time. Had I done it in one shot I estimate it would take about two hours to complete the dress alone, mostly due to the fact that I hand sew quite slowly.

First worn: To take pictures this evening with my daughter (she got some good shots during our brief, cold session!).

Total cost: Free, everything was from stash or re-used.


I also used this challenge to practice sewing bias seams on crepe fabric, my Innovation project will be a true Vionnet from the Kirke book which I have wanted to make since I was in high school.