Sunday, February 24, 2013

An Embroidered Reticule

Challenge #4 of the Historical Sew Fortnightly, hosted by  The Dreamstress.


I intended to participate in the entire sew along, needless to say this has not happened so far. (Of course I also intended to post the projects I made last year, but well...oops!) Challenge one I finished n time, but never got photographed and blogged, ditto for challenge three. Challenge two was another matter, none of my unfinished projects were in my current size, or that of anyone else
I know, I considered cutting down a pair of stays I began last March, but they were far too finished to make that attempt in any way worthwhile. Oh well! Here, in any case, is my piece for the fourth challenge; an embroidered reticule. Below that are its statistics.


The Challenge: Embellish, due February 25th.

Fabric: Recycled khaki green twill pants that my daughter tore at the knee, scraps of blue and ivory striped fabric from my stash.

Pattern: Made from a piece of computer paper, folded into what I felt was an attractive size and shape.

Year: Not sure, I was going for early 1800's, but I suppose it could be from many eras...

Notions: Embroidery floss, pearls, cotton crochet lace, satin ribbon.

How historically accurate is it? Fairly, I believe; I sewed the inner seams on my Singer and hand sewed the external ones, and I hand embroidered the embellishments. The shape is based on extant examples from the 1800's through the 1910's which are in the Met and elsewhere.

Hours to complete: Around five, including the embroidery.

First worn: Not yet!

Total cost: All materials are from my stash or are recycled, so free!

I will start at the top of the bag and work my way down, both in description and in imagery. Here you can see the pointed flaps at each side, I chose this design instead of flat tops because of how it mimics the shape of the bottom of the bag and also the top cuff on Regency era mitts. You can also see my ill-advised, 'lets put the bag together first and then do the embroidery' puckering on the lining. There were many moments of ill-advisedness in the making of this reticule, in addition to putting the bag together first I am a poor embroiderer. I also had no needle small enough to pass through my pearls, and as such I had to un-thread the needle, thread the pearl, re-thread the needle, make the stitch, etc...
I know, it was a bad plan, but in spite of it all I think it came out well!


Here is the top view with the bag mostly closed, if you look closely you can see that it's filled with samples of Burt's Bees baby products. What can I say, they were on hand for Ms.A and they filled the bag out nicely! Due to the triangular shape of the sides the bottom of the bag is flat when laid down, this makes it nice to look into in order to find things, no rooting through to locate things which have fallen to the very bottom.


The embroidery motif is visible when sitting and when carried, I designed it to look old fashioned and sentimental, hence the initials of my children as the focal points of the motif. I used ivory floss along the side seams in a chain stitch pattern, inside of this is a double oval frame embroidered in two shades of green, with one of my children's initials stitched inside of it. I added three pink pearls at the tops and bottoms and two pinks and a purple on each side for interest and because I felt it completed the design of the frames. The frames themselves are chain stitched and the initials are done in split stitch, I used an old style of handwriting for the font and think it came out nicely!

Here are some pictures of the bag flat, sitting and then filled and hanging with the embroidery visible.

On this is side an S; for my eldest daughter, and it is in pink which is her favorite color.


Here an A for my current youngest daughter, in a shade of warm purple, she is too young yet to request a color by name, but she did choose this shade from the three offered.


The last side is an E, for the baby on the way, in a blue tone, this baby is too young to communicate at all and as such got stuck with the color blue.


As a side note, if you read the bag counter-clockwise it spells the word sea.

And here are some close ups of my somewhat messy embroidery.


To finish up, here is the bottom of the bag, overturned and then hanging and filled.
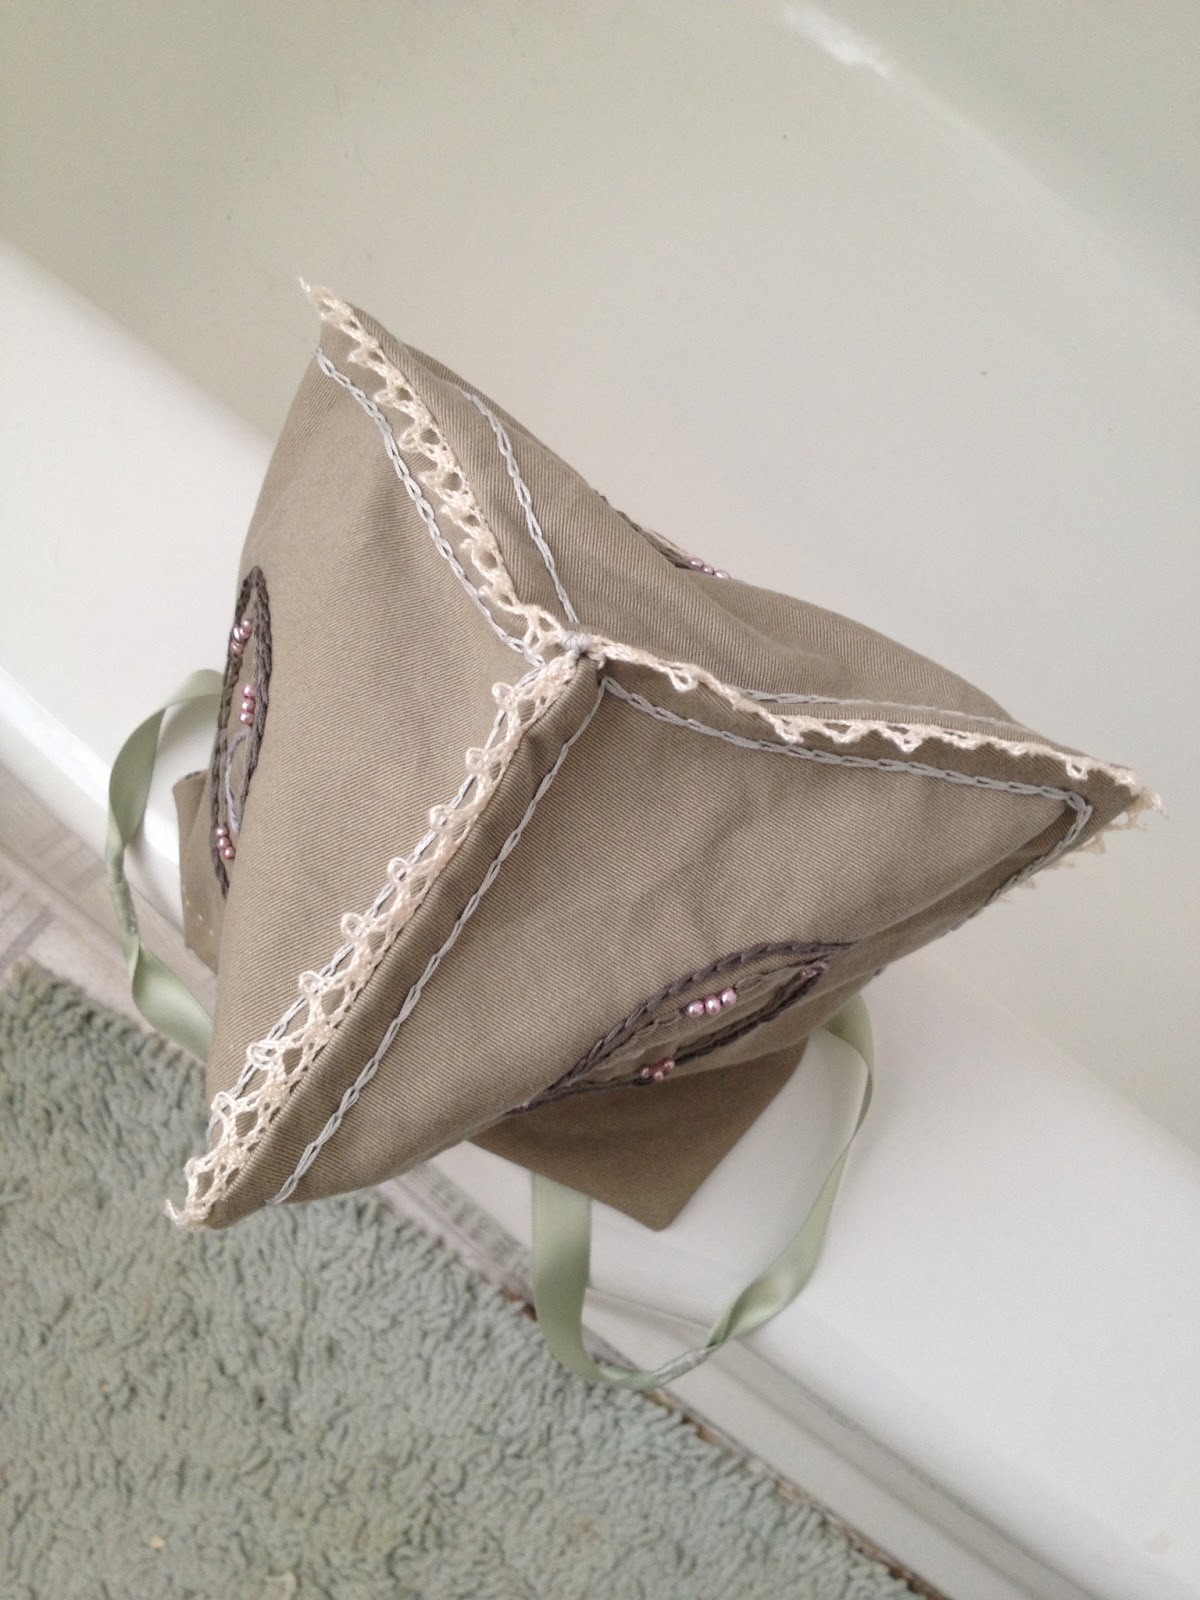


And yes the bag is in the bathtub, my upstairs shower is the only room to get decent lighting in the afternoon!

A bientôt!


Thursday, May 10, 2012

Adding an underwire to a nursing bra

This post will illustrate how to add an underwire to a wire free bra.

The bra in this example is a nursing bra made by Cake Lingerie. Since I have been breastfeeding my daughter I have looked everywhere for comfortable and attractive nursing bras. I have tried many without success and the Cake bras are by far the best. They are both pretty and comfortable, and the sizes are noticeably different from cup size to cup size and band size to band size which means that they make a bra for almost everyone (and they are having a Mothers Day sale through the 13th). My only critique is that most of them are underwire free which I personally find less comfortable, and with my shape tends to produce a mono-boob effect that is decidedly not pretty. Now on to the tutorial!

The sewing supplies you will need are:
Scissors, preferably sharp, small, and pointed
Thread (here I use a darker color for visibility)
Sewing needle


You will also need a good bra, here I use the Coconut Ice by Cake, size 36D. You must use a bra that has a casing under the bust, the triangle style bras will not work (unless you want to add a casing to the bra)!


You also need a bad bra with the same underwire length as the bra you will be altering. You can use a bra with a slightly shorter wire, but not a longer one (unless you want to cut and plastic-dip it). Here I have a bra bought on clearance at the thrift store. It was pretty, but did not fit, and for 25 cents was a good candidate for underwire removal.


Step one is to cut the underwire casing along the underarm of the bad bra, snip carefully and make a small slit. Then you can scrunch the fabric down and if you have cut deeply enough the underwire should poke out the hole you made. Continue scrunching until you can grasp the underwire and slide it out. Be careful not to bend or twist the underwire!


You now have one underwire out, repeat this process on the other side.


You will notice that your underwires are shaped ever so slightly different at the sides. This is so that they fit beneath the breasts evenly. Usually one end of the wire has been marked or is painted a different color, this denotes the inside of the wire, or the side that goes between your breasts. If they are not marked it may be a good idea to mark them yourself so that you put them in correctly.


To insert the underwire we will be doing the reverse to our good bra.

First we snip the underwire casing on the underarm side of the cup. Make sure you cut only into the casing and not into the fabric of the bra. If you are unsure how deeply to cut the casing I recommend practicing with the bad bra, you will have lots of room to cut and experiment on it once the wires are removed.


Next you insert the underwire into the casing with the marked end being inserted first. Push the wire in as far as it will go, or as far as you want it to go. I have used shorter wires and this works too, just make certain that they come to the same point at the front. With Cake bras the underwire casing often overlaps at the center front. if your wires are thin this is not a problem, but if they are wider you can simply stop where the overlap begins, this also gives the bra a more bendable center when it is folded down.


Finally you sew the opening on the casing closed. I use an embroidery satin stitch and a thick, strong thread for this step. I sew the hole closed vertically first then I overstitch it horizontally, this makes for a good strong mend that does not rub uncomfortably. I back-stitch a few times to secure my thread and to avoid having knots along the underwire, you can also sew over to the edge of the casing and make your knots there so it will not rub.


This step is optional, you can leave the holes unsewn if your casings are made of a knit or fray resistant fabric. This is also useful if you machine wash and dry your bras because you can take out the wires before washing. However if you machine wash them with the wires in and the holes unsewn then your wires will be lost!

And you are done!
Here is a comparison of the bra before and after wiring it.


A bientôt!


Wednesday, April 4, 2012

1911 Corset; Finished!

I managed to finish my corset before the deadline!


In order to use my melty cotton I interfaced it and then I flat lined it with a stiff pink cotton poplin that I already had on hand. I then flat felled all the seams for strength and to prevent adding the extra bulk of a separate lining. I used some of my French red and white striped ribbon to make my boning channels which I placed along the seams. In this image you can see the poplin, boning channels, fabric and sewn seams just before I inserted my busk.


And after I had inserted and pinned my busk in preparation for sewing. I got my busk and garters from Armory Auctions. Everything I ordered from them is of exceptional quality and it was all very well packaged so as not to be bent or broken during shipping. I can not recommend them enough.


The busk studs after insertion, with blue chalk dots denoting placement still visible. I do not own an awl so I used a combination of a large needle, and several knitting needles to poke my holes. I find this makes the fabric less likely to rend around the studs, I do the same for my eyelets.


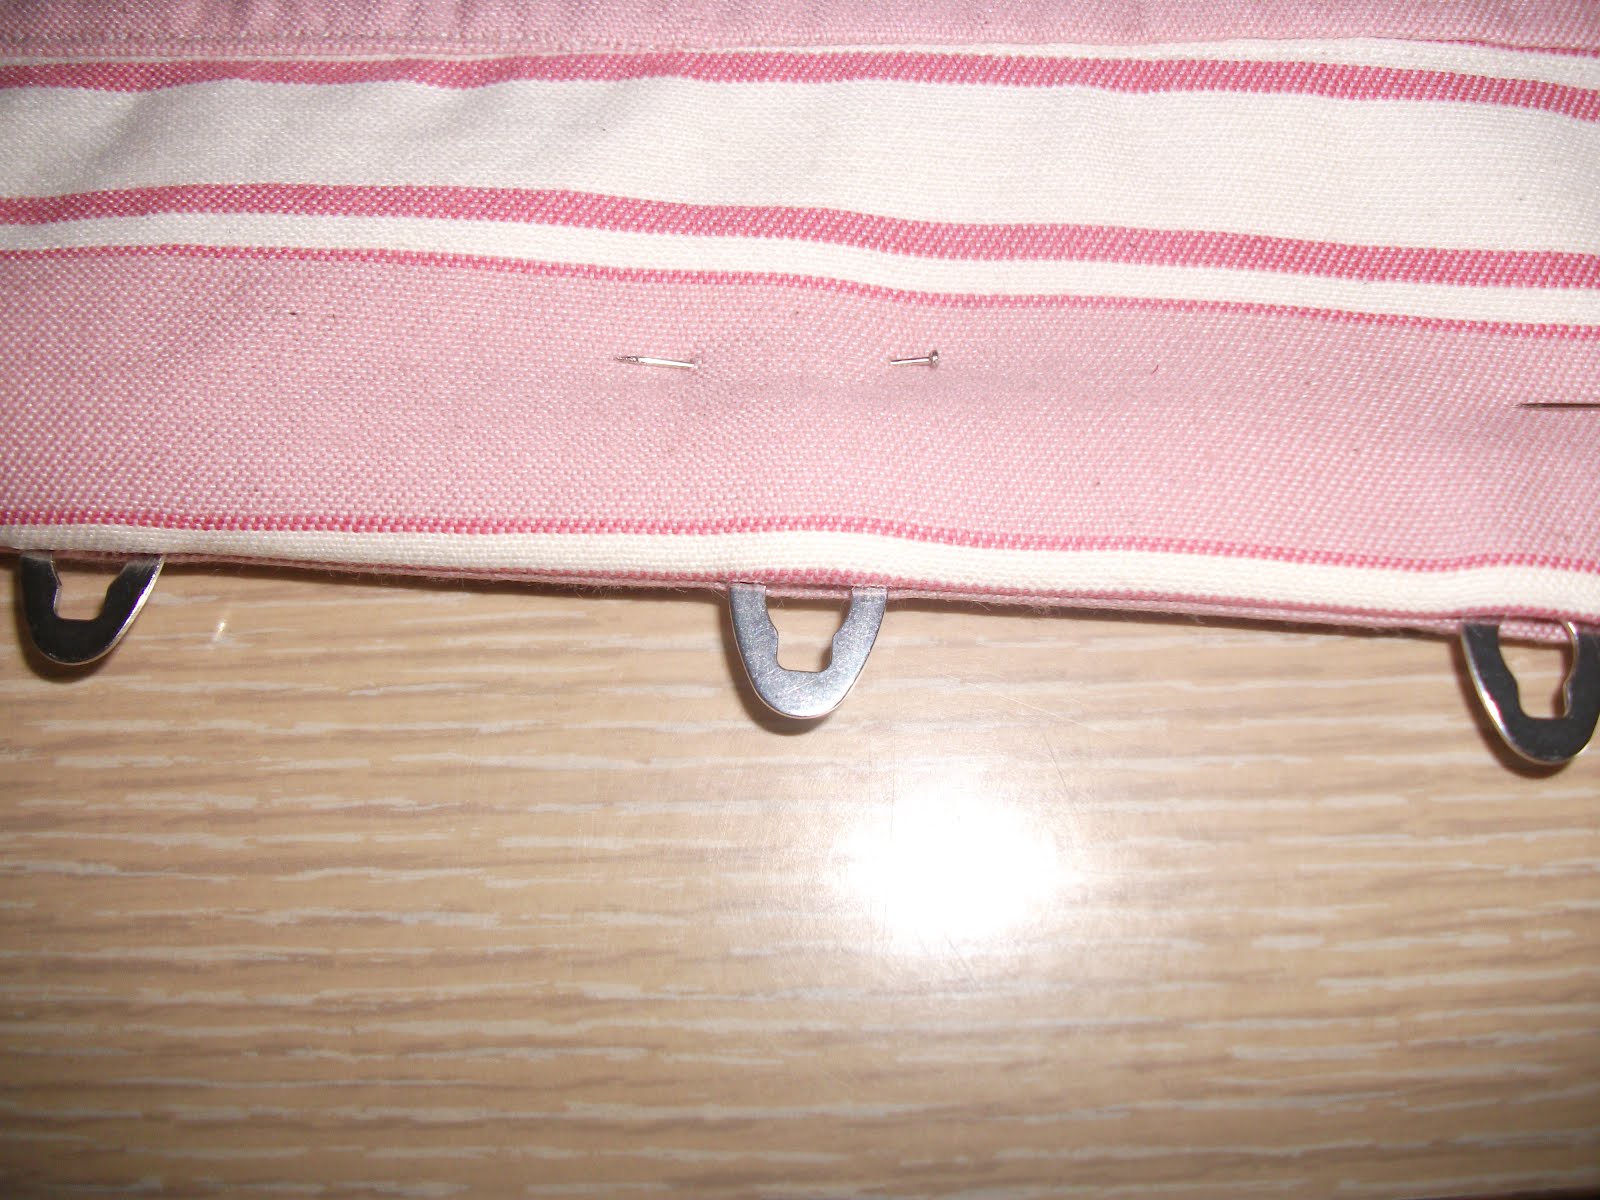
I hand bound my eyelets for a combination of reasons, one: I did not want to buy additional parts such as eyelets and a setter which I would then have had to wait on to arrive. Two: I prefer the look of hand stitched eyelets, especially how it ties in with the flossing, and three: I already had my floss on hand. I actually stitched around ten eyelets too many as I wanted to hem the corset on my body and thus made it with a very long hem.


I used the same floss I used for the eyelets to do the flossing for my boning. I decided on a pattern following a tutorial from Sidney Eileen which I like because it holds in the boning well and is also a very nice style visually. Unfortunately it does make a more visible mark inside the corset, but I accept that as the cost of having sturdier bones.


I used the stripes on my fabric to cut out my garters as they were the exact width I needed. Since the corset has a straight front the addition of the garters visually elongate the corset by continuing the stripes downward. Here is a picture of the finished corset on Sally Stitch as it was on the evening of February 24th.


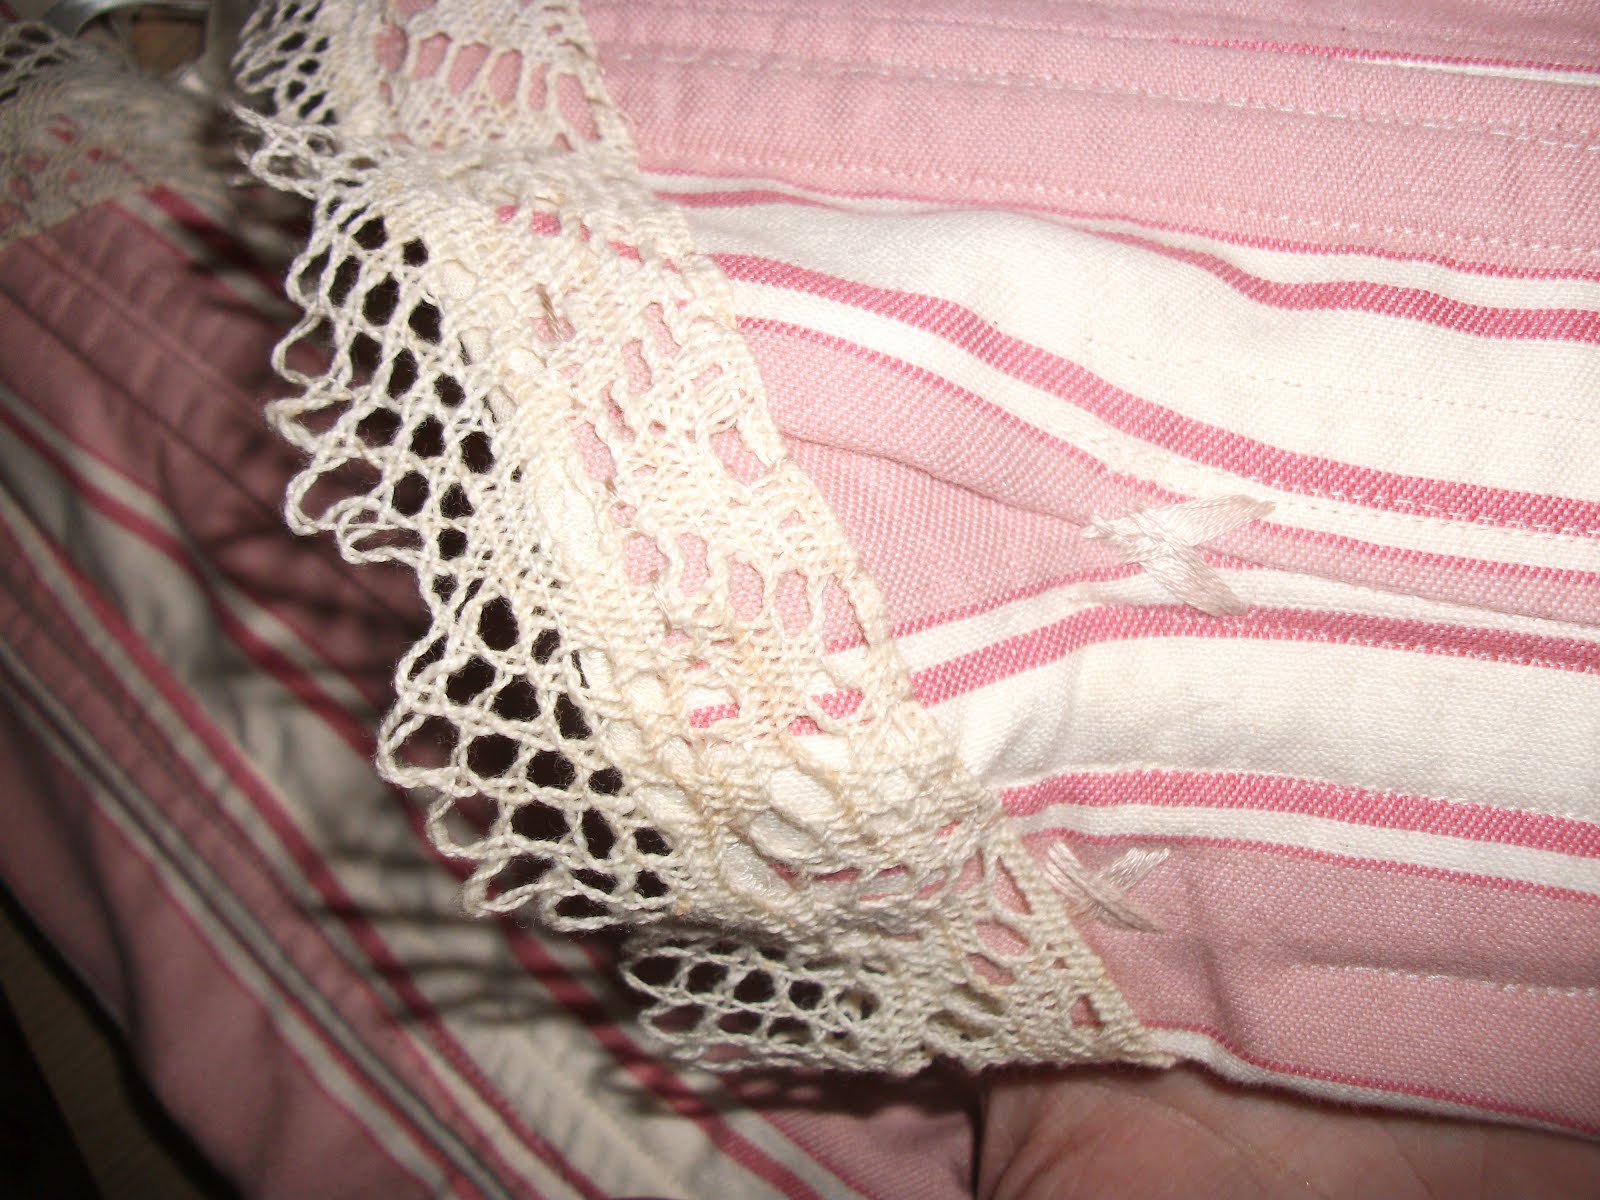
You can not really tell from the picture, but after I photographed the corset on Sally I decided to add some of my vintage lace to the top after all, I had decided not to because I only had 26 inches of lace and my corset sits high. Luckily I had just enough to fit around the top edge and to turn under at the sides.


Unfortunately I did not manage to get decent pictures of it taken while on my body. In fact I still don't have any good ones of myself wearing it. I have worn it though, and I must say that it is quite comfortable, much more so than ones I have purchased. Here is the only picture that I will post of it being worn for now, it is a quite unfortunate picture; taken via my reflection in the bathroom mirror. But it allows one to see how the corset looks on a body.


In this picture I have around a four inch gap at the back. I can lace it fully closed and still be quite comfortable though. It also provides good bust support, though not quite as good as a modern brassiere. I plan to make a proper bust bodice to go with it soon, hopefully I will be able to get some pictures taken soon as well!

Au revoir

Wednesday, February 8, 2012

1911 Corset

So I decided to join the Bridges on the Body 1911 corset sew along.


Of course I decided to join in a month late, I am making swift progress though.
I altered the pattern for the Post Edwardian long line Corset from the Bridges on the Body blog. I added a curvier high hip line and a higher front bust, I plan on making it have a slightly high front for support, but not so high that it prevents breastfeeding. I will be cutting the shape into the final corset so the placement will be correct.


I realized after cutting my toile that attempting to pin alterations on myself was out of the question, luckily I have Sally Stitch. But sadly while Sally has my measurements, she has never approximated my actual shape. She needed some help in the hip and bust area in order to allow me to use her for fitting purposes. To this end she is now wearing a bra, several cloth diapers and two ace bandages, and yes, she does pad her bra.


It really wasn't too difficult; the hardest part being pulling the ace bandages taut whilst holding the diapers in place and keeping her from tipping over.

Next, I needed to get my corset fabric. I went to the local fabric store, Joanne Fabrics, of course I knew this was a mistake, but there is nowhere else to go in this area. There I found a very pretty pink and ivory striped ticking, it was labeled 100% cotton, and so I bought it.


Unfortunately, it melts at rather low temperatures rather like an acrylic will do. I returned and talked to the customer service woman about it and was summarily informed that "if it said it was cotton, it was, we don't make mistakes on our labels". So there you have it Joanne never makes mistakes and has invented meltable cotton.

I have now backed said fabric with interfacing and flatlined it in a pink cotton for strength. I will be using some vintage lace as trimming along the top and may embroider the buttonholes by hand instead of using metal eyelets.

I sewed together my toile using my 2009 Singer sewing machine, you will notice the seam puckering in the images below. For some reason it can't handle sewing through thin fabrics. Or thick fabrics. Or several layers of fabrics. Or in a straight line.

I plan on using my 1890's Singer treadle to sew the actual corset.

This is the toile from the front, with an as yet unedited bust height, this will be quite reduced in the final model.


And from the back, before I added some waist reduction.


I am waiting for various corset accouterments to arrive from overseas, and other locales, (Busk from England, lace from France, Ribbon binding from Pennsylvania, and more lace from Tennessee). So for now I will be sewing the actual corset. I will be flat felling my seams for strength and to prevent fraying. I may also play with bone placement because of the curves inherent in my seams and this way they will all be neatly enclosed.

À plus tard