Wednesday, April 30, 2014

Sew for Victory

I decided to participate in the Sew for Victory sew along hosted by Rochelle New of Lucky Lucille. This is the first time I have participated in this sew along, which is now in it's second year. I made an ensemble from a 1940's Clotilde pattern sold by the Chicago Tribune. While I don't have an exact year for it, I know that it was sent for on July 10th (the original owner made a note of this), the style, language and sewing directions say early to mid 40's to me. I purchased the pattern on Etsy and it included the original newspaper advertisement, very cool!


I made my dress to replicate what was specified in the newspaper ad: For spectator sports, business hours, and informal social wear this cool frock is ace high. There's no collar to clutter the neckline and the sleeves are kimono style, cool, and easy to sew. If you like pockets, the pattern provides for four of them, two on the bodice, the other two on the skirt. The original is fashioned of pink cotton with the pocket flaps and diamond shaped buttons in navy blue. There's an unusual jacket to keep this frock company. It may be of flowered cotton to contrast if you select a plain shade for the dress itself. Lumber jacket lines are employed for the lines of this jacket, which has a shirtwaist collar and snug waistband.
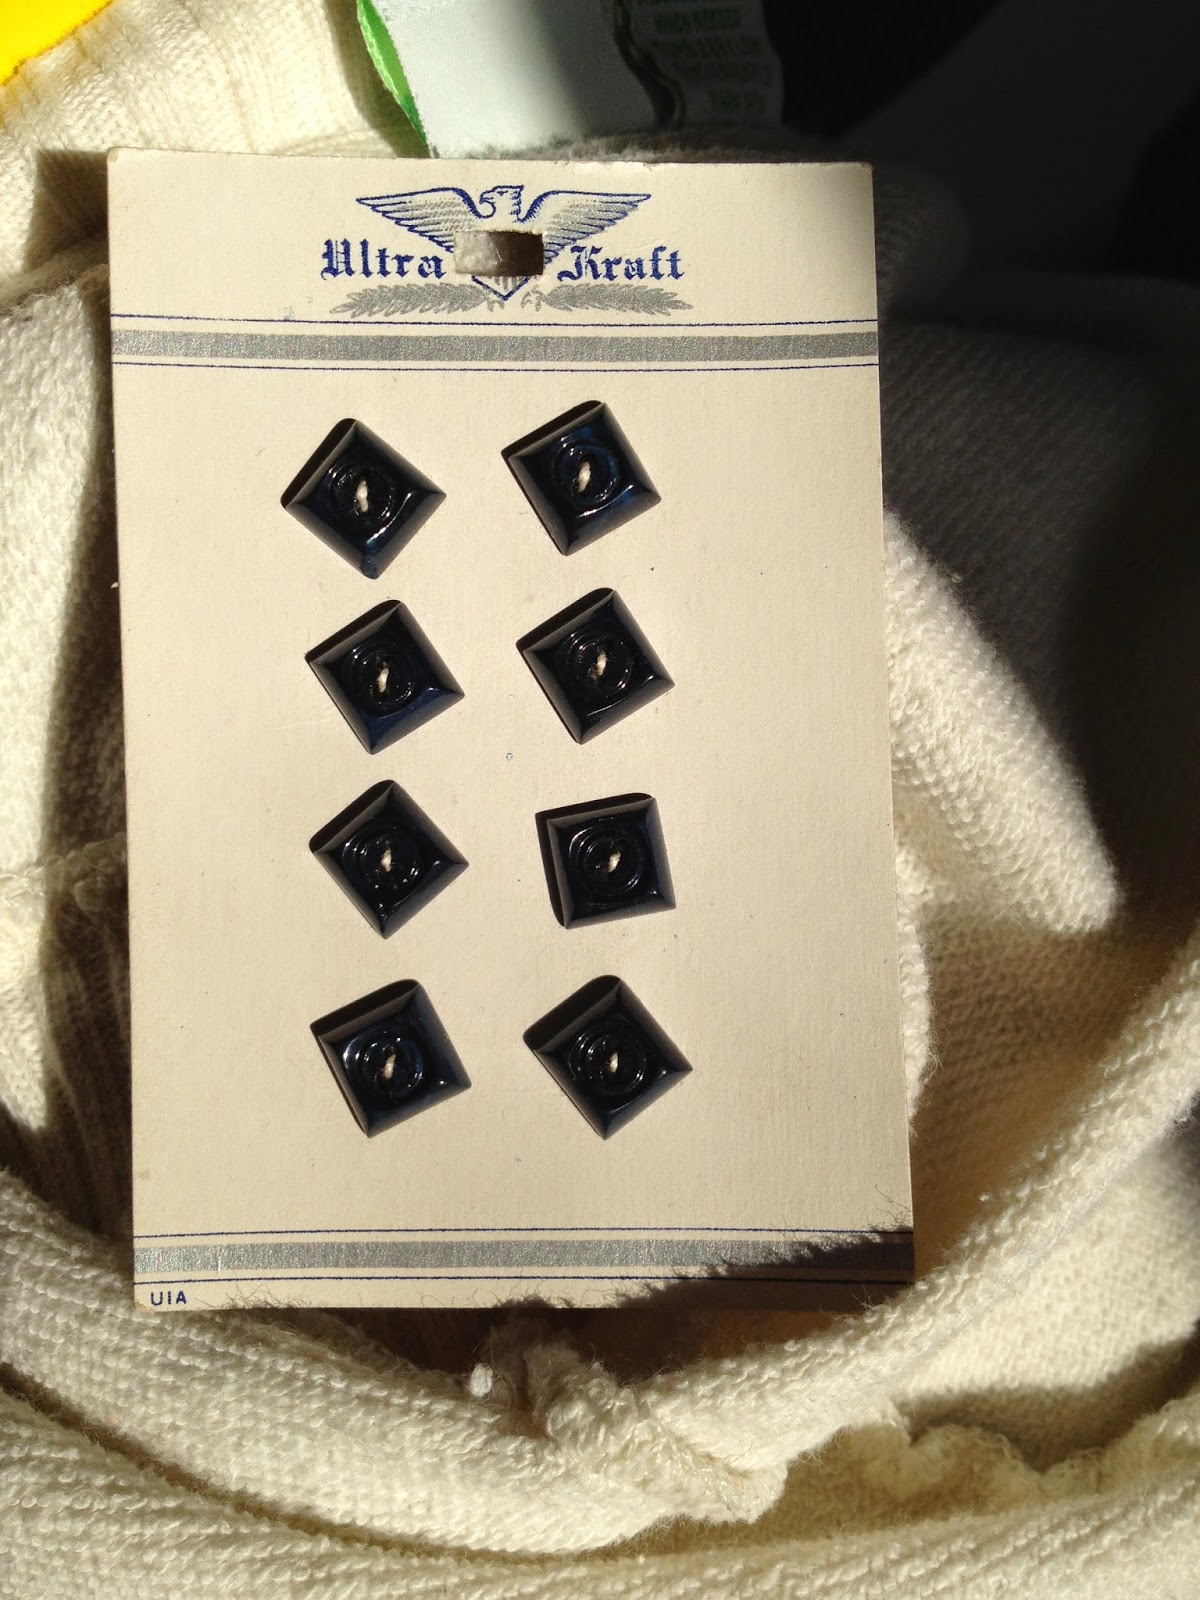


Let me tell you that finding diamond shaped navy buttons was virtually impossible! I finally found some vintage 1940's navy blue square shaped buttons (far away in England!) which I sewed on at an angle. My fabrics are Mushroom and Coal shot cottons by Kaffe Fasset, I really love shot cotton! I did not use a flowered cotton for my jacket, instead I used Coal shot cotton. I might make a floral version if I can find a floral print that coordinates and that I would wear, a difficult task.


I made a few alterations; lengthening the back bodice pieces of both dress and jacket and adding a waistband to the dress. They blouse a bit more than in the illustration, but I don't mind (and the amount varies based on the undergarments that I wear with the dress). I hand worked my buttonholes and hand sewed the facings and side closures (four snaps and two hooks and eyes), for the hem I used some hand dyed lace as a facing. I used vintage buttons on the jacket in a mauvy color, I liked the flower pattern on them as it recalls the printed cotton they recommended for the jacket. I also used a vintage buckle, pink with a floral motif, for my belt. It wasn't specified in the pattern, but it does clearly show a belt with a lighter buckle on the pattern so I whipped one up from my extra Coal fabric. Oh yes, I also left off the bodice pockets, because I do not need to call more attention to that area! I do now have two extra pockets which I may add to the jacket, reversible pockets are nice after all!


Sorry for the poor picture quality! It is very rainy today and the artificial lights in my sewing room really skew the colors of these fabrics! There will be better/more photos posted later, once I pick up my daughter from school. She is my official photographer after all! Larger versions of these pictures can be found on my Flickr page here. I would also like to thank Rochelle for hosting the sew along, I love 1940's fashion and am always looking for an excuse to sew more of it! Thank you Rochelle!

Tuesday, April 15, 2014

Challenge seven; Tops & Toes

For this challenge I made a hat that I have wanted to recreate for quite some time and a pair of clog/sandals. Both are based on images of extant items from the early 1940s. My hat is a semi reproduction of an American Surrealist hat circa 1940 or '41. It's a knitting hat! I've only seen one image of it, in a book titled Forties Fashion From siren suits to the New Look I wish I could find out more about it, or at least see some additional images of it! Does anyone know where this hat currently resides?


I just love the wide textural mesh used in the original. Sadly I couldn't find such a mesh available now. I did luck out and find a great nylon substitute on Etsy at a very reasonable rate! I used wool felt for the base which I hand sewed into a pillbox shape. It turned out very soft so I made my own hat stiffener from potato starch and water, it worked very well! I hand painted my knitting needles pink using paint which I had leftover from repainting my daughter's bed. Here it is front and back, but not on a head yet!


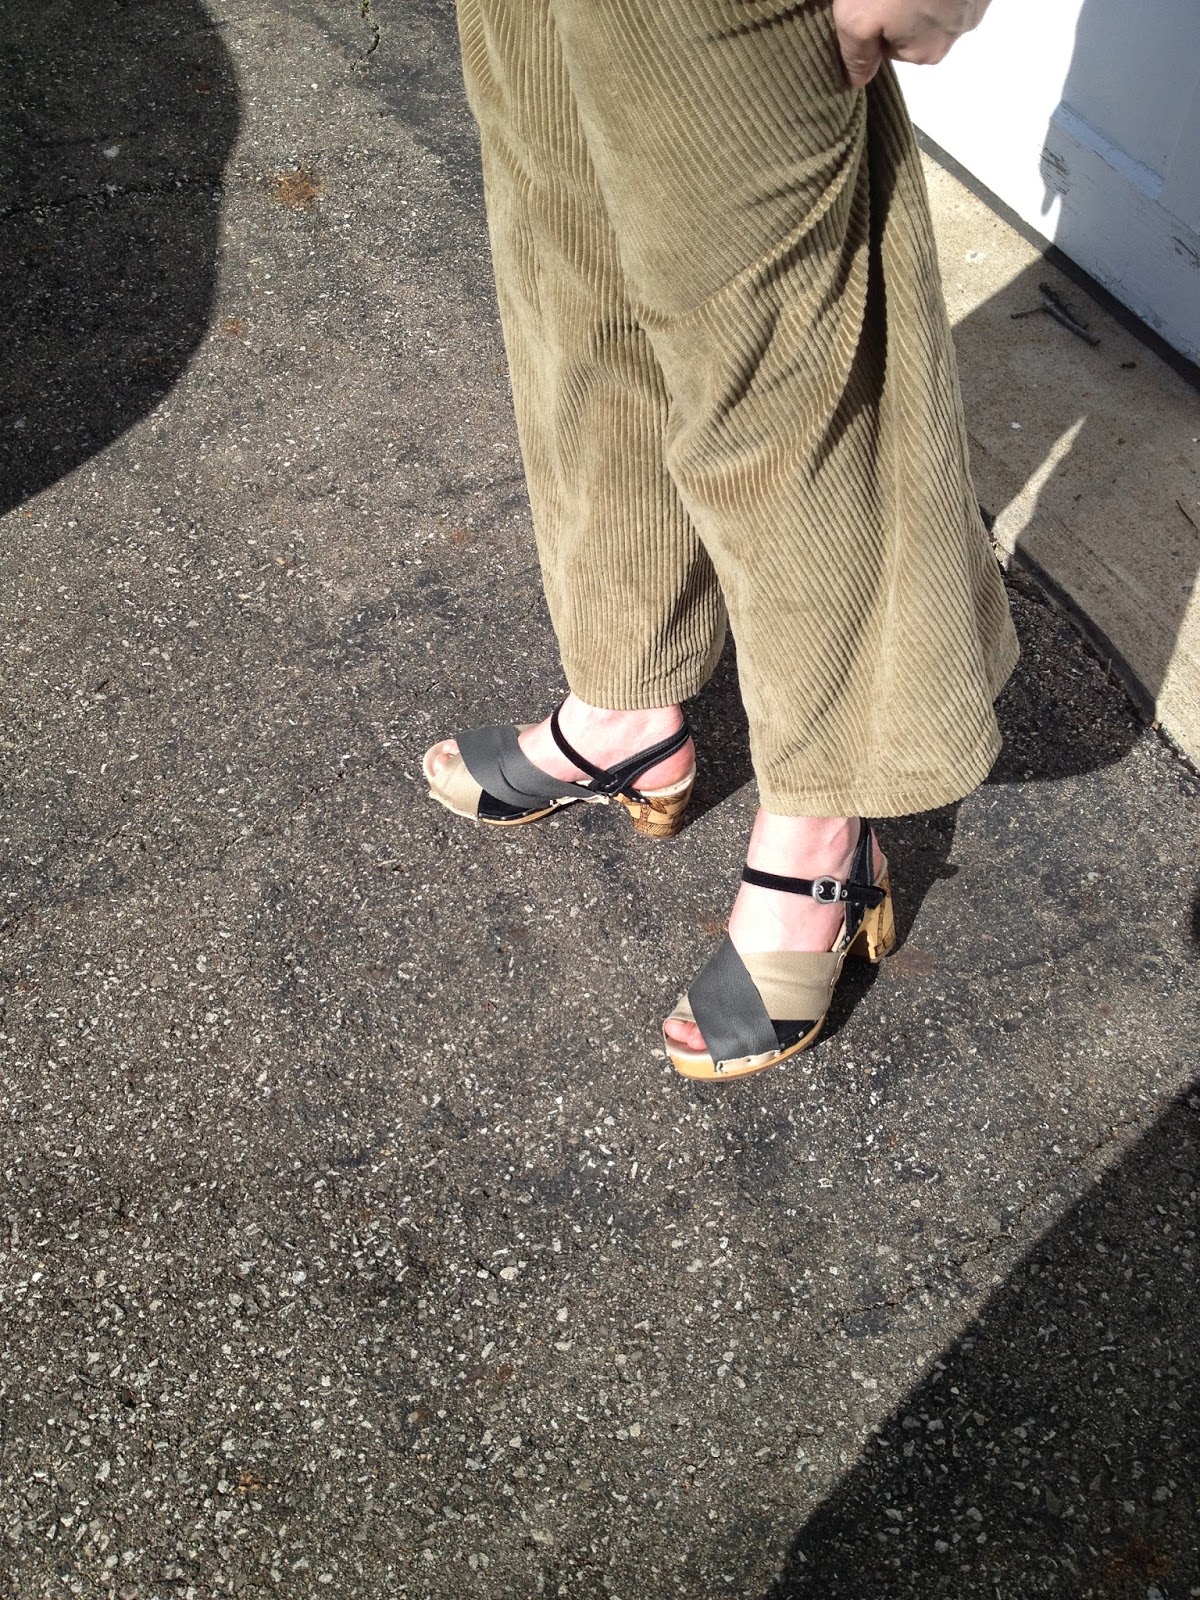
My shoes are a conglomerate of WWII era sandals and also souvenir sandals from the Philippines which were often brought home by servicemen as gifts for their wives and girlfriends. Most of the original souvenir sandals that I have seen have been carved and painted, or just painted.


Carving them was going to be too much work for me to do (especially while holding a baby) and painting them was just too colorful for my tastes. I used a wood burning kit to create the images on the heels of the shoes instead, which is reminiscent of the right images above. It was my first time using a wood burner and it was fun! Evenly burning the curved heels was difficult though! I also bought the cheap wood burner and it's tips unscrew as you use it meaning you have to turn it off and let it cool before you can adjust it and get back to work, rather a bummer in the time wasting department! I also covered the tops in cotton strapping held by leather and nails to give them a more period look. Unfortunately it turns out that modern clogs tend to be glued onto cut out areas on the soles before being nailed down, due to this I ended up laying the strapping over the original straps, leaving them partly visible. It's not the best look, but I would need to find soles without this modern shortcut in order to make them more authentic. I'm not entirely happy with these yet, but I do really like my burned images. I am thinkng about buying a pair of wooden soles and doing these again.


The Challenge: Tops

Fabric: Wool felt and nylon mesh.

Pattern: None

Year: 1941

Notions: Knitting needles, paint, thread.

How historically accurate is it? Very, though my bamboo wood needles are not quite accurate.

Hours to complete: Not including drying time for my stiffener and paint, one and a half , including drying time, around ten.

First worn: Not yet!

Total cost: $1.50 for the felt, $1.00 for the net, $4.50 for the needles, so $7.


The Challenge: Toes

Fabric: Cotton strapping, leather scraps

Pattern: None

Year: Mid 1940's

Notions: Wooden soled clogs, nails

How historically accurate is it? Hmm, aside from the non removable under layer they are pretty accurate, we'll say 75%.

Hours to complete: Around two

First worn: Not yet, it snowed again!

Total cost: $15 for the shoes, $2 for the strapping, nails from stash, so $17.

Monday, April 7, 2014

Me Made May 2014


Me Made May is coming (Hosted by Zoe from So, Zo...What do you know?)! I participated last year and it was quite entertaining and in addition it helped change the way that I sew. It encouraged me to sew more wearable clothes and less costumey things (my personal designs tend to make me look rather like an extra from sci-fi movies) and also prompted me to take more care on the finishing of my garments. Typically I would follow the pattern directions and many of those don't call for seam finishes other than zig-zagging or serging. Now I finish all of my seams carefully, and take more care in general while I sew to insure that I make a lasting garment that I will wear. So here is what I pledge for this May:

I, Liberty of LeVagabondage, sign up as a participant of Me-Made-May '14. I endeavour to wear no less than one handmade garment each day, and no one item more than twice each week, for the duration of May 2014.

I will be posting my outfits on Flickr once May begins, and this year hopefully I will be in some of the photos!

Friday, March 28, 2014

Challenge six; Fairytale

For this challenge I was quite stumped at first. Fairytales are generally not my cup of tea, also a frou-frou princess dress does not fit my lifestyle at all. Since my goal, unstated until now, was to make an historical and wearable vintage wardrobe this challenge was doubly confounding. Eventualy I decided to do a Cinderella/Rosie the Riveter/land girl ensemble. These are some of my inspiration images:


I chose the color scheme of Disney's Cinderella's work clothes- a tealy blue, a light brown and darker brown. I used a vintage pattern, Simplicity 4161 from 1942, for the blouse.


My fabric is a very cool quilting cotton printed with sewing implements. I had just enough left over to make another of the 'bodice' challenge blouses too! My trousers are a pattern I made myself based on historical photographs, for these I used a light brown wide wale corduroy. Both fabrics are from the excellent Sew to Speak shop in Columbus. I had never been there before but they are a wonderful resource for fabric and independent patterns. In short a big yay for them! Here you can see the color scheme, I wore my dark brown sweater with it to get in that additional Cinderella color.


I had to change the story a bit of course, in my version of the fairytale Cinderella is not a servant but perhaps a housewife, (I think we can all agree that 1940's housewives lives were rather servile at times). She would dress her up mice in overalls, then make them have a victory garden, and at the dance she would meet Uncle Sam and become a WOW. Her prince charming was finding herself. A much more satisfying happily ever after!


I wanted to print a WOW bandana but never got around to it, though my blouse and pants took less than a week to make. In fact they were both very easy to sew! My main difficulty arose in fitting the pants, the butt is still a little unflattering, but frankly looks pretty period to me. I think my issues arose because I shortened the crotch length as many people say needs to be done to vintage trouser patterns. I ended up adding it back in plus some to get the waist to fall at my waist! I also had to do significant sway back alterations. My side pockets were going to be back pockets but I cut them too small, so instead I stacked them on my right hip. I like the aesthetics of the stacked v's and the utility of two pockets.


As you can see I get really odd wrinkles after a few hours of walking around. Standing still it looks normal, not like a wrinkled mess!


And here is a shot on Sally Stitch, the buttons are just pinned on here, I was auditioning my button options, also a lovely shot taken in the bathroom mirror at the end of the day. See no wrinkles when I'm still! My photographer had a hard time getting good pictures in the wild, that is, at the Ohio Historical Society's Lustron exhibit (which is awesome and everyone should go and visit!). Please note, I also made the awesome children in these images!

The Challenge: Fairytale

Fabric: Printed quilting cotton and cotton wide wale corduroy

Pattern: Simplicity 4161 from 1942 and my own

Year: 1942

Notions: Five vintage black buttons, one bronze reproduction vintage button, two skirt hooks and bars

How historically accurate is it? 75% because of the quilting cotton blouse and modern hooks

Hours to complete: Not sure, I worked on them for four days total, but two days were just for finishing

First worn: Thursday to the Lustron exhibit

Total cost: $25 to $35, I still have extra fabric left

Friday, March 14, 2014

Challenge five; Bodice

For this challenge I made blouses. Not technically bodices per se, but for me they are the bodices of my daily apparel, so it sorta works. I actually made both early last week and intended to make more, but instead I loafed around (read: got stomach flu, not fun!). I also neglected to press these before photographing.


I used this mail order pattern from the 1950s I have which is outside of our dates for the HSF, but I once had an older version of it that was unprinted and dated to the 1940s. It might not have been exactly the same pattern but it was almost the same, but sadly we shall never know as my original was the victim of a cruel mauling and munching by a one year old (luckily she's nine now and no longer eats my vintage patterns!). I also used some fantastic vintage buttons! And please not the very cool button band detail on the gold blouse! (Please don't notice that my steam away marking pen did not steam away!)


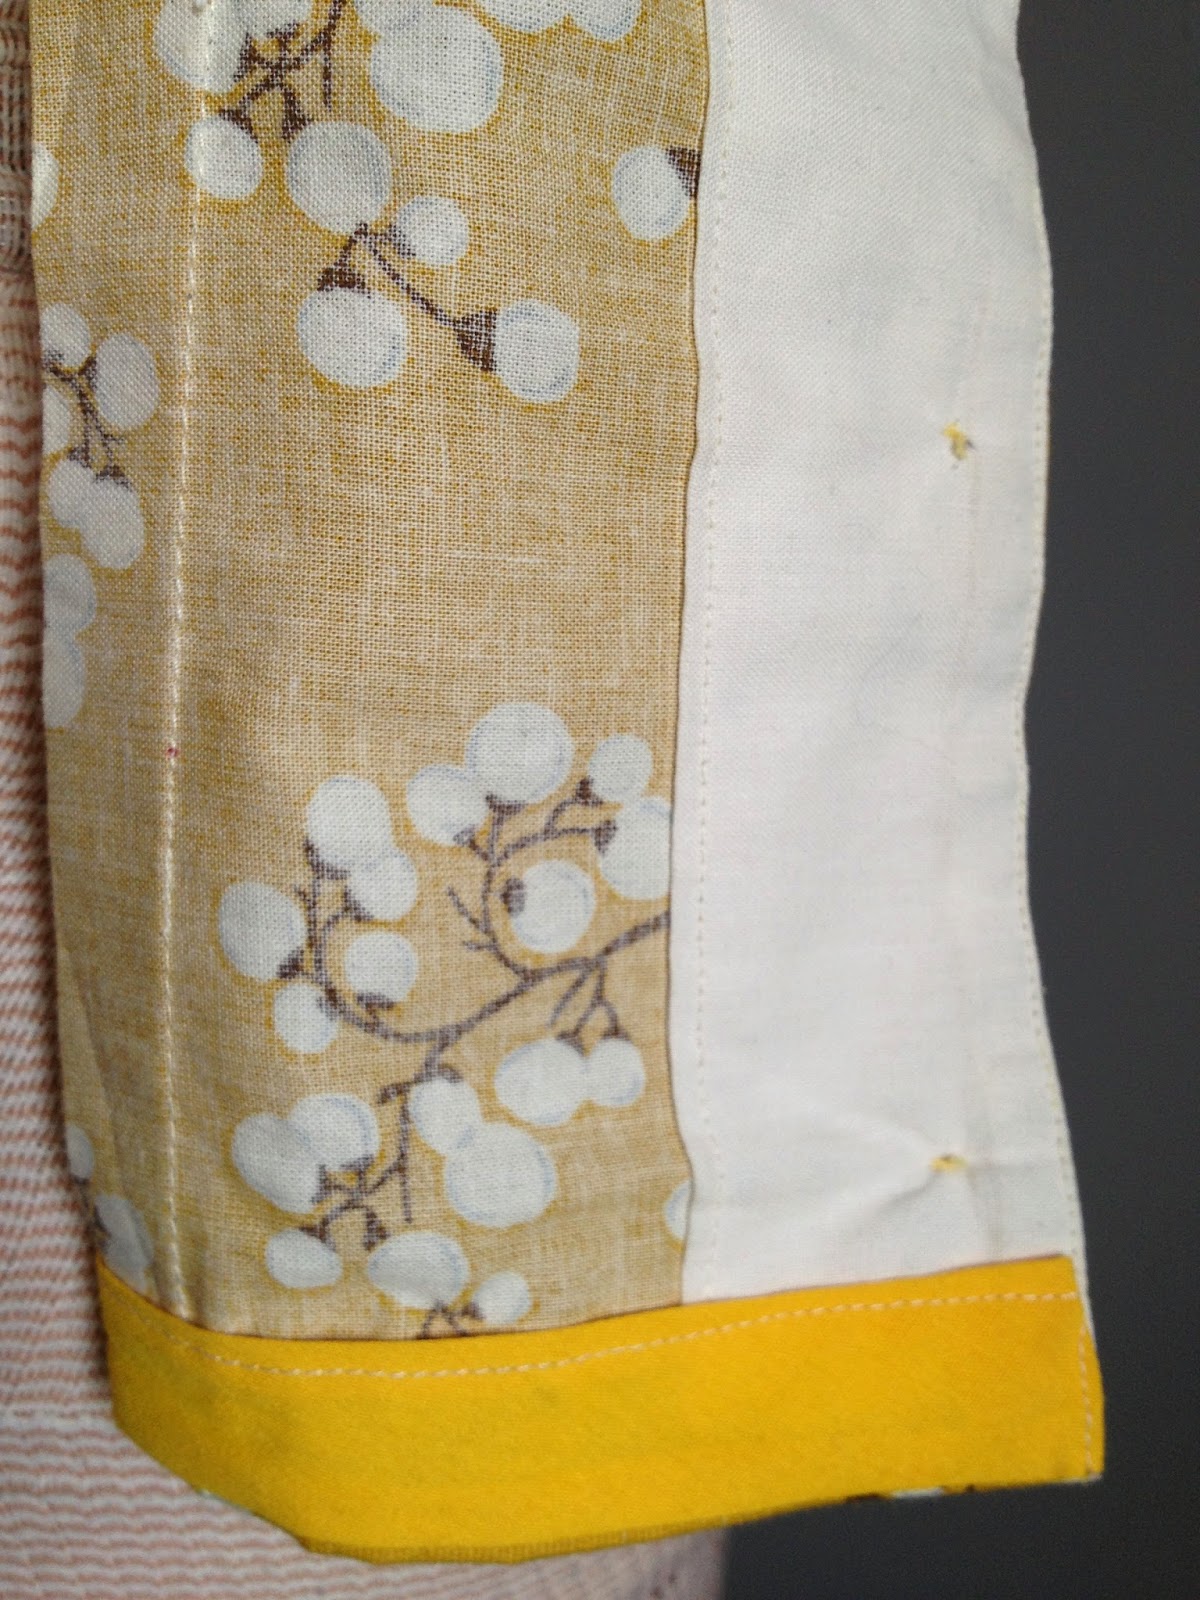
I used my ivory linen stash for the contrast tops, which also helps me be able to wear these colors! The pink is the stained seersucker from Etsy that I wanted to use for the pink challenge, and no the stains did not come out. The golden is a bit of quilting cotton I picked up as a remnant at JoAnns. I faced the hems with bias tape for weight, used no interfacing and cut down the crazy big revers to a more moderate size (I took off 2.5" on each collar). My earlier pattern definitely had smaller revers! I modified the back pattern to mimic the shaping on the front, I'm not sure if the original had this detail built in or not, it might have been a straight back panel with a shaped front.


As you can tell the contrast seaming is different on the two blouses, that is because I cut the pink blouse from view A, intending to modify the collar to be ivory with a scalloped edge in the pink. It was ugly, very ugly. So I chopped it up and did some reshaping and made another version of view B with some differences. There is no cb seam, The shaping is different, the cool button placket detail is gone and the bust darts are lower. I still like it though, in fact I love these blouses! I will post some modeled pictures soon!

The Challenge: Bodice

Fabric: Light weight linen, quilting cotton, vintage cotton seersucker

Pattern: Mail Order 9379, altered to look like a lost 1940s pattern

Year: 1940s or 1950s, depending on which pattern you use

Notions: Vintage buttons, thread, bias tape in peach and gold

How historically accurate is it? Pattern, fabric, notions are yes, polyester bias tape is no, so 95%

Hours to complete: 2, one hour per blouse

First worn: Antiquing last weekend for the gold, pink not yet worn

Total cost: $9 for buttons, but they are perfect and vintage and I have extras! Actually let's say $5.

Thursday, February 27, 2014

Challenge four; Underneath it all

I had big plans for this challenge, and was making good progress, until life got in the way. I was going to make some bras and tap pants and a girdle/garter belt, but it didn't happen. Due to sad family circumstances I only finished one bra. this one:


It fits me better than it fits Sally Stitch.

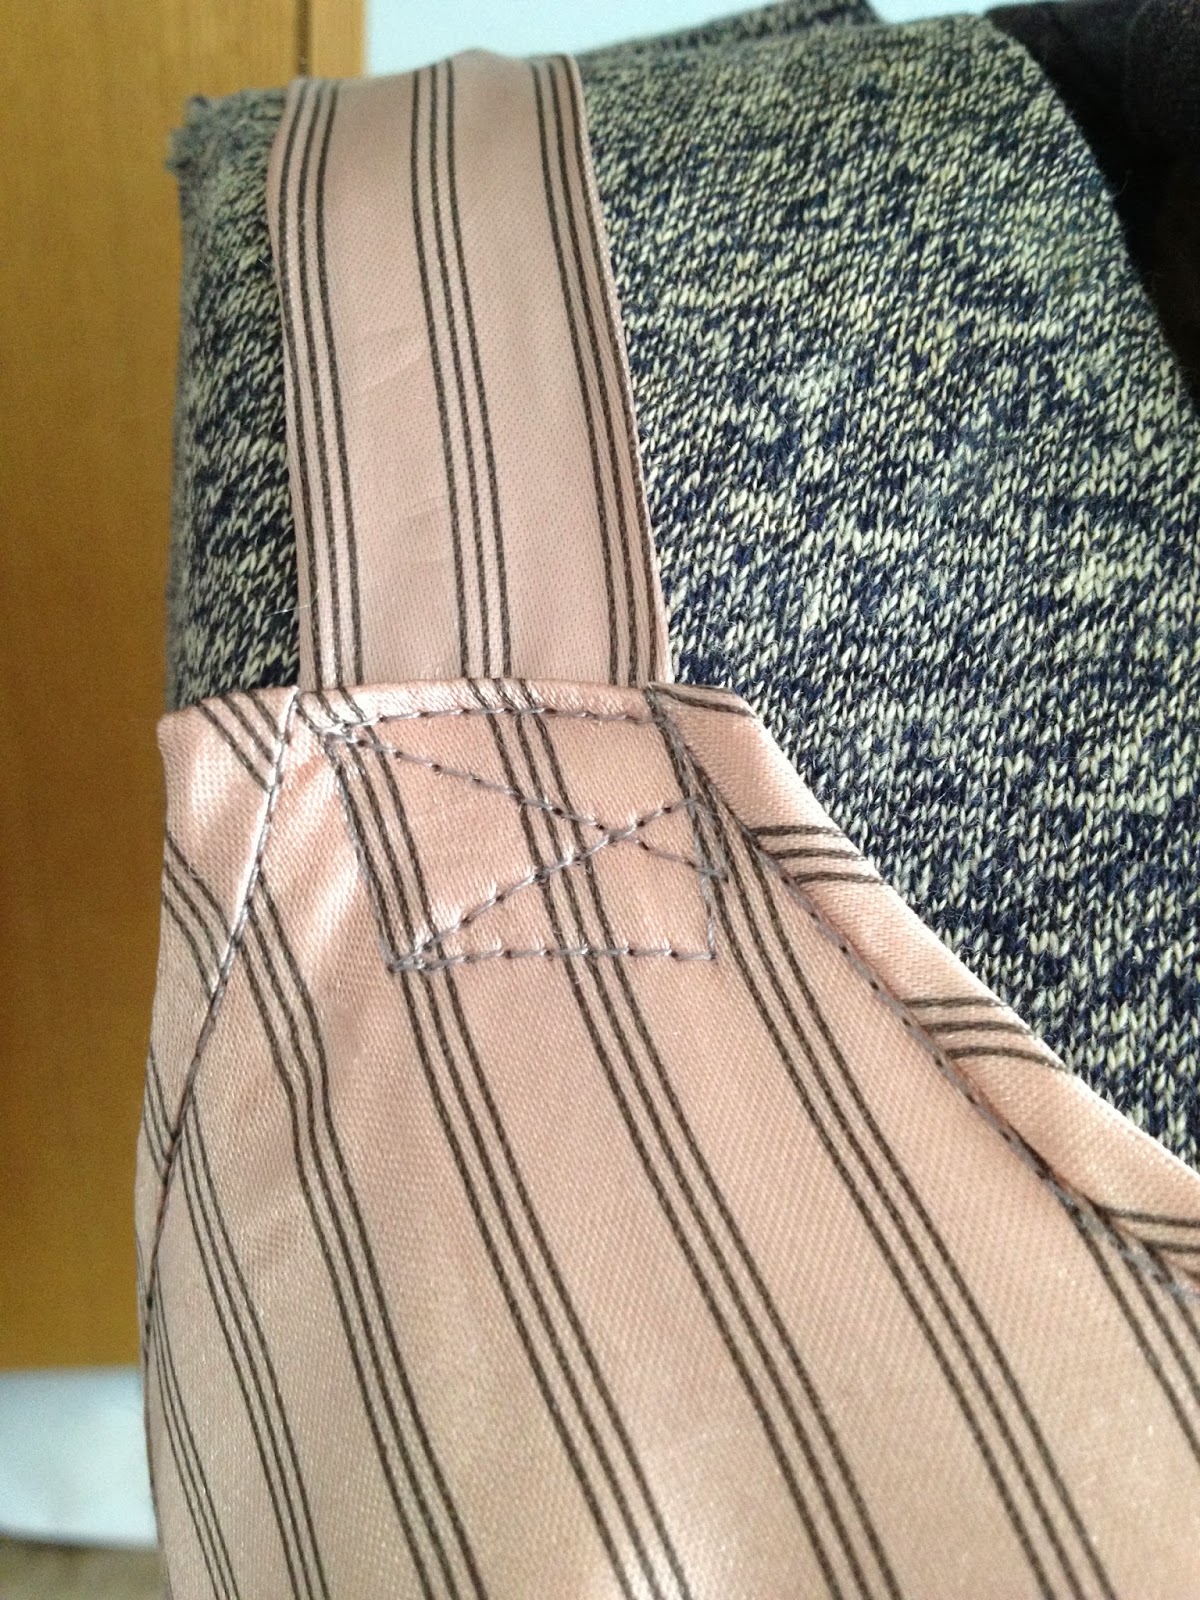
I had cut the lining out of an old leather coat I repurposed a while ago, it was peachy pink with black stripes, draped nicely and was silky. It was 100% acetate. I washed it in the sink and the dry cleaning chemical smell was just awful, it took several sinks of water and long soaks to remove all of the smell. When it was dry it was a terrible mass of wrinkles and a blue pink color, I think the peachyness was residue from all the dry cleaning chemicals. I ironed it on a mid setting and it's silky smoothness was restored yay!


I had intended it to be a test bra, since it was just lining fabric, a wearable toile, but it turned out better than expected. There are a few wrinkles around the seams on the cups, but these are invisible under clothes. I think the shape of the cup seams are to round and that is causing the problem. I might bullet seam the cups to see if that helps, I have read that doing so can help shape the cups into a more pointy form.


The Challenge: Underneath it all

Fabric: Pink and black striped acetate lining from an old leather coat, pink shirting as lining

Pattern: Cobbled together from several vintage bra patterns

Year: 1940ish

Notions: One hook and eye, 6" of green elastic dyed pink (too pink!)

How historically accurate is it? Hmm... 50%, the pattern is accurate as is the shape it gives, but acetate? no.

Hours to complete: Around one

First worn: Not yet, as it doesn't allow for breastfeeding.

Total cost: All from stash so free!